
If you’ve been looking for a sign that it’s time to bust out the cleaning supplies and give your fridge a little TLC, you’re in luck: November 15 is National Clean Out Your Refrigerator Day! The holiday was created by Whirlpool about 20 years ago, as a way to celebrate the most important appliance in your home. What better way to celebrate than by cleaning out your own Whirlpool fridge?
With the holidays coming up, you’ll need all the fridge space you can get! So, celebrate your Whirlpool and prepare for holiday feasting by following these seven steps for cleaning your fridge inside and out.
Step 1: Get Prepped
Before you get started, you may want to unplug your fridge if possible, or at least turn it off. You’ll be using lots of water, so it’s safer to keep electricity off to avoid sparks, shocks, and fires. Plus, you won’t waste electricity by letting all the cold air out of the fridge.
Once your fridge is off, you’ll want to collect a few supplies before you get started:
- Non-abrasive sponge
- Bucket
- Baking soda or white vinegar
- Large cooler
- Trash bags
- Handheld vacuum or shop vacuum
- Toothbrush
Step 2: Take Everything Out
And I mean everything! Condiments, leftovers, and even removable shelves and door racks should all come out. Make lots of room in the sink and on countertops and resist the temptation to leave small items you think you’re going to keep inside the fridge – you have time to decide what stays and what goes later. For now, just empty it aaaaall out. I promise, it’ll make the whole process much easier!
Prepare a large cooler full of ice for the perishable items too. With your milk and eggs safely tucked away on ice, you don’t have to worry about your food’s freshness while you work.
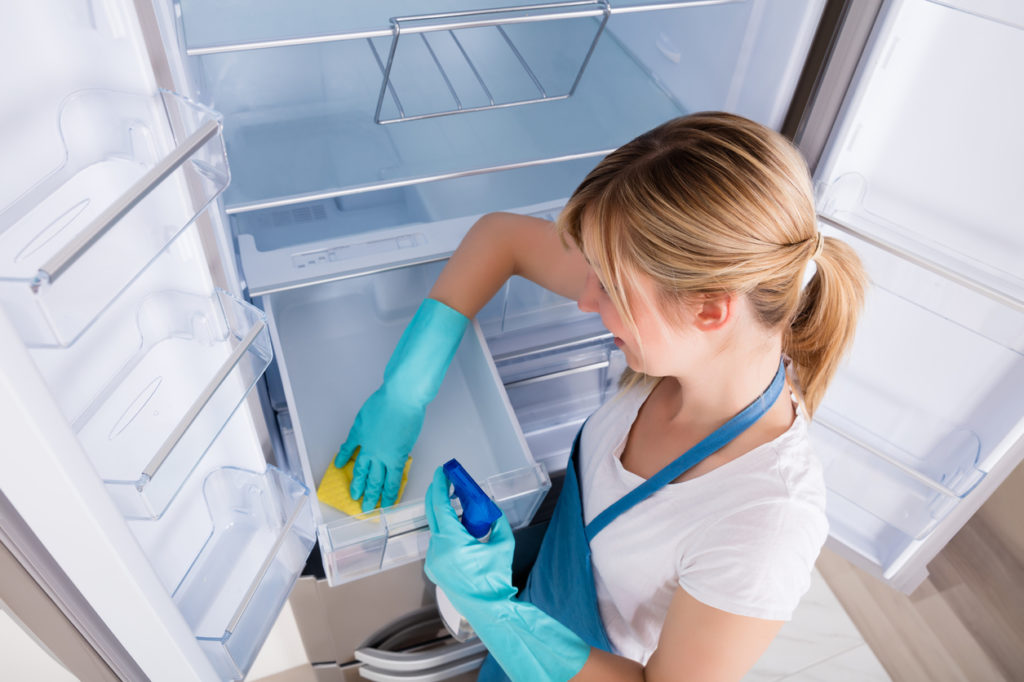
Step 3: Start Scrubbing
This step will be easiest if you’ve taken all the shelves out of your Whirlpool fridge. Take any components you’ve removed from the fridge, fill your sink with warm, soapy water and go to town on the sturdy, frameless glass shelves. Be sure to use a non-abrasive sponge, so you don’t scrape up the glass!
If your shelves have stubborn, stuck on gunk, try mixing some white vinegar or baking soda into the water – both are great for getting in deep and taking care of even the stickiest spills. You can also try a toothbrush for removing sticky spots – they’ve got more scrubbing power than a typical sponge, but are still soft enough to not scratch your shelves.

Step 4: Wipe it Down
Be sure to get any surfaces that can’t be removed. Fill a bucket full of soapy water and wipe up any gunk on the walls or crammed into corners. You’d be surprised at how many stains go unnoticed underneath milk jugs and Tupperware! Pay extra close attention to your Whirlpool’s Gallon Door bins, especially if they aren’t removable. Once everything is thoroughly cleaned, dry it all out with an old towel.
While you’re cleaning, make sure your FreshFlow Air filter doesn’t need replacing. If the filter has been functioning at full throttle, your fridge shouldn’t have any problems with smells. FreshFlow filters are six times more effective than baking soda at soaking up odours, but they do need to be replaced every six months for best results. Use this opportunity to check and replace your filter if needed.
Step 5: Do the Detail Work
Once the inside surfaces are cleaned, make sure to take care of all those extra details that can easily get forgotten. Bust out the vacuum and clean out the grate and toekick area. These spaces can get packed full of dust without you even noticing, and your fridge wastes a lot of electricity trying to cycle air through gummed up grates.
Be sure to clean and sanitize the outside and edges of the fridge as well. Stainless steel can be cleaned with a paper towel and some white vinegar – don’t use any water though, it can leave behind streaks! Other fridge finishes can be cleaned with just soap, water, and a sponge. Pay special attention to the seals just along the inside edge of the fridge too. They can tend to collect dust, dirt, and even mould if you don’t clean them regularly. With a little vinegar or soapy water, use a toothbrush to clean out all the nooks and crannies.
Step 6: Decide What to Keep and What to Toss
Let’s be honest here: There’s probably lots of stuff in your fridge it’s long past time to toss. Oh yeah, you’re really going to eat those month-old slices of pizza? Or how about those loose blueberries that have been wilting in the corner since Canada Day? Don’t kid yourself, it’s time to get serious about tossing your old food.
Check expiration dates on everything. No excuses for food past its prime: If you can’t cook it up safely, don’t keep it around! Have trash bags on hand for everything you’re getting rid of, and don’t be afraid to get rid of food you simply aren’t eating. Grandma’s lasagna might still be perfectly edible (medically speaking), but that doesn’t mean it needs to stay in your fridge untouched for another night.
Step 7: Put It All Back
Once you’ve dried out your fridge and shelves, put everything back inside. Many Whirlpool fridges have convenient shelves that can be moved and adjusted depending on how you like to organize your space.
Try out a new configuration that helps you stay organized better, or install a Lazy Susan to prevent condiments and leftovers from getting forgotten in corners. Make sure all your food is clearly labelled too, with stickers noting the date your leftovers were made, so you don’t have to wait ‘til next November to find out that your mashed potatoes have gone mouldy.
Once your Whirlpool is freshly cleaned and organized, you’ll be ready to take on the holidays – all thanks to Clean Out Your Fridge Day! And if your old fridge just isn’t doing the trick and you’re interested in upgrading to a Whirlpool, come by our store and talk to our associates. We’re happy to help you pick out a fridge with all the space you need, and storage solutions that will keep you from having to celebrate Clean Out Your Fridge Day again anytime soon.
Amanda, Your Appliance Expert