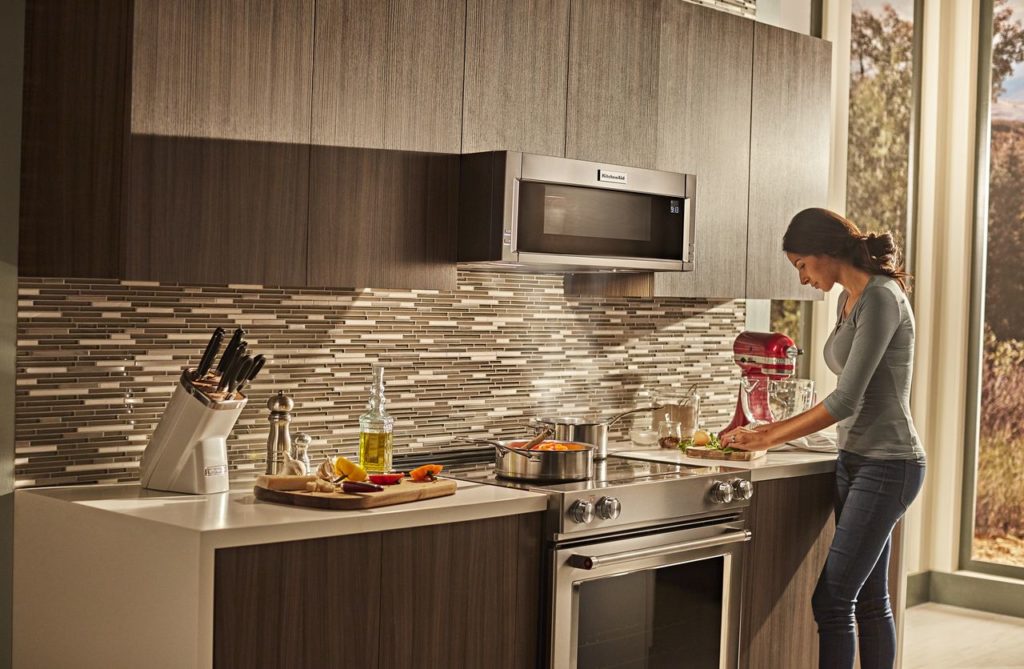
‘Tis the season for all things spooky, pumpkin, and crafty! That’s right, it’s Halloween time and if you’re wanting to get into the spirit, we have just the activity for you! With the help of a KitchenAid microwave and a few items, you’ll be able to create your very own homemade Shrinky Dink!
To give you a brief explanation of a Shrinky Dinks, it’s created from a piece of plastic (something like a salad to-go container) that you draw on and when heated it shrinks down to a much smaller size, but still retains the colour and shape of whatever it is you drew on it. This is the perfect opportunity to nix the waste and utilize plastic from being thrown out.
Because it’s almost October 31, get creative by making earrings, keychains, bracelets, and more of your favourite Halloween icons (jack-o-lantern, ghost, zombie, etc.) with your Shrinkles and KitchenAid microwave. Follow the steps below, and you’ll soon be on your way to crafting up some fun.
What You’ll Need
- KitchenAid microwave
- #6 Plastic
- Permanent markers
- Picture to trace (optional)
- Wax paper
That’s it! Now all you have to do is draw!
What to Draw
Halloween is a time where your inner child gets to come out, so let it! Draw a unicorn, your favourite cartoon character, Frankenstein, or anything else! It’s up to you what you want to draw, but if you are wanting to stick to the ideal Halloween icons, a ghost and/or jack-o-lantern will do the trick.

What to Do
Cut out the plastic to whatever size you want, just remember that it will shrink by about one third. Then, get colouring! If you’ve decided to draw and colour in a pumpkin, just make sure to have black and orange permanent markers. If the colours don’t look as vivid as you want, no need to worry! As soon as the plastic shrinks down, the hues will become brighter and stand out more on your Shrinky Dink.
Once you’re done drawing, colouring, and cutting out the shape, it’s time for a little microwaving! Place your freshly finished plastic design on wax paper over a flat plate or cutting board and set your KitchenAid microwave for two minutes. It’s not a good idea to stare into a microwave, so we highly suggest waiting for your Shrinky Dinks to finish baking before peaking in on them.
After your KitchenAid microwave quickly and efficiently heats them up in two minutes, let your Shrinky Dinks cool a couple minutes until they are completely hardened. And that’s how you make a homemade Shrinky Dink in your microwave!
If you want, you can use a hole puncher to make a hole in your finished Shrinky Dinks and create necklaces, bracelets, key chains, and more!
Want a microwave that can help you out with more than just heating up your food? Stop in before the end of the month to get an efficient KitchenAid Microwave that will help with your Halloween crafting!
Amanda, Your Appliance Expert
