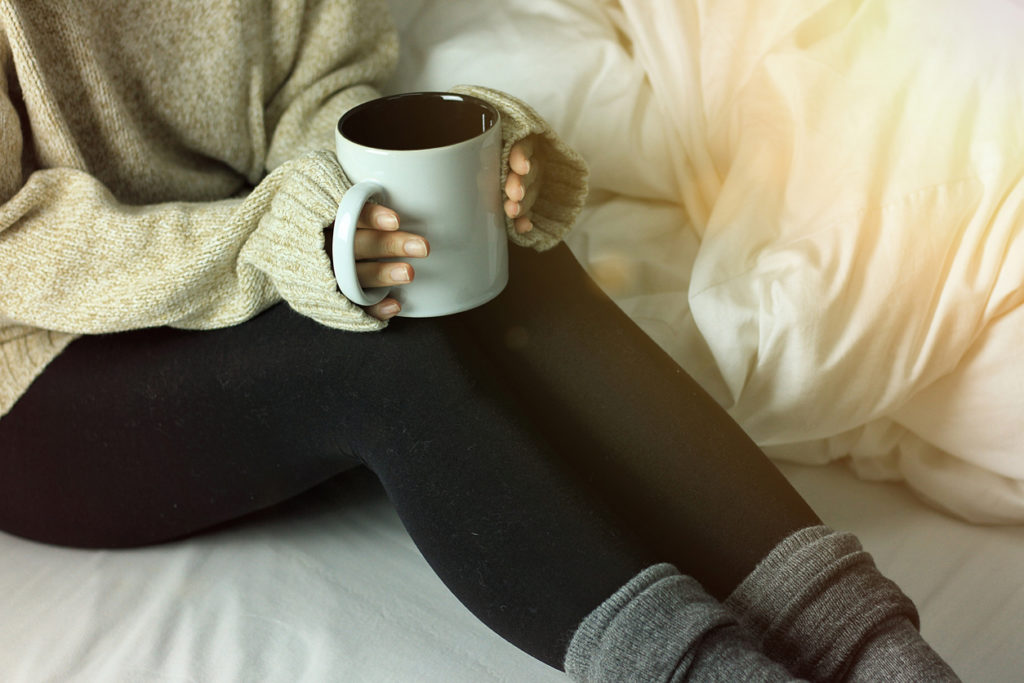
There’s nothing like a hot mug of tea to help you get settled in for the night! Not only is a hot drink a soothing way to wind down after a long day, there are some teas that are especially effective at soothing nerves and promoting a good night of rest. If you’re trying to sleep more soundly in your Concept Zzz, get the lowdown on the right types of tea to sip before you snooze!
Decaf and Caffeine-Free: Know the Difference
First things first, know what to look for on the label of your tea. Everyone knows it’s important to avoid caffeine before bed, but caffeine can tend to sneak its way into your cup without you noticing. Despite how the names sound, decaf and caffeine-free teas are not the same, and if you don’t know the difference, you might be ingesting more caffeine than you mean to in your evening brew.
Caffeine-free means tea that naturally contains no caffeine. “Decaffeinated” tea, on the other hand, is tea that once had caffeine, but which had most of it chemically removed. The key word here is “most”: decaffeinated teas almost always contain trace amounts of caffeine, and that can be enough to keep you awake if you’re sensitive to it. While it certainly isn’t on par with an espresso in terms of caffeine content, it’s a good idea to try to avoid decaf in the evening and stick to caffeine-free teas, like the ones below!
The Best Teas for Sleep
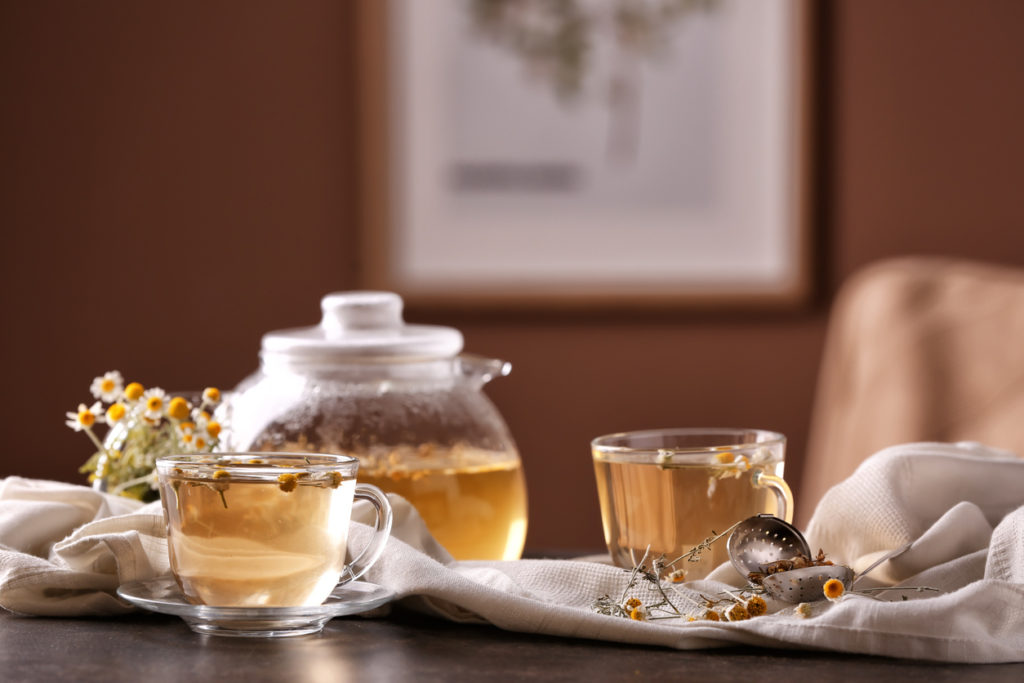
1. Chamomile Tea
One of the most popular herbal teas, chamomile is a longtime favourite for soothing nerves and promoting a restful night of sleep. It’s known to relax the muscles and even help treat anxiety – so no matter how stressful your day, chamomile tea can help you wind down for a calm night in bed.
2. Valerian Root Tea
If chamomile doesn’t quite pack the snooze-inducing power you need, but you don’t want to venture into the territory of sleep medications, valerian root tea is a great option. It’s an all-natural sedative that battles insomnia nearly as powerfully as a medication, without the side effects. Alone, the tea has a distinctive smell that’s not everyone’s cup of tea (if you’ll pardon the pun), so you may want to find a tea blend that combines valerian with one or more of these other varieties.
3. Lavender Tea
Lavender is a common ingredient in soaps, bath salts, and aromatherapy sprays due to its relaxation-inducing qualities, and it has the same effects when used in tea. In addition to smelling great, lavender has the uncanny ability to melt away stress and help prime you for relaxation. And not only will lavender tea get you to sleep faster, some studies have even found that lavender can help you sleep more deeply once you get there!
4. Mint Tea
The beauty of mint teas is that they’re perfect for any time of day! Like a hot shower, they can perk you up in the morning or relax you in the evening – whatever you need, a cup of mint tea is there for you. Peppermint is an especially good choice before bed, because it contains compounds that relax your muscles and help ease digestion, keeping you sleeping soundly through the night.
5. Catnip Tea
You read that right: catnip isn’t just for cats! In addition to making your feline friends go absolutely bananas, catnip makes a super relaxing bedtime tea for humans. This herb is usually mixed with other flavors when made into tea, like mint or chamomile, so the tea label might not prominently advertise that it contains catnip. If your sleepytime tea needs a little extra kick though, just check the ingredient list of your favorite flavor and make sure that catnip is listed.
6. Passionflower Tea
Despite the name, this tea tastes more earthy than floral or fruity, but it’s a lovely tea that works wonders on an over-stressed mind. Especially when combined with valerian in tea blends, it becomes a powerful insomnia treatment that’s sure to get you drifting off to dreamland faster than ever.
Even better, you can make all these teas cold as well, to help keep the temperature down on warm nights! Check out these tips on how to cold brew your favourite sleepytime flavors for a drink that’s as refreshing as it is relaxing.
Tea can be a powerful tool to help induce a good night’s sleep, but it’s just one of many. Without the right mattress, for example, no amount of tea will give you the kind of deep, restorative sleep you need! So if you’re struggling with insomnia on a regular basis and tea just doesn’t seem to be doing the trick, make sure you’ve got all your bases covered. Give us a call or stop by our store to learn how the right Concept Zzz mattress can help you get the restful sleep you’ve dreamed of!
Angela, Your Sleep Expert
For other tips on what you should eat and drink before bed, read these: