
A range hood is one of the most important appliances to have in your kitchen. It is a large appliance that either re-circulates fresh, filtered air back into the kitchen or vents smoke, heat, and odours outside to keep them from getting in your way while you cook. A high-quality GE range hood is a must-have for any cooking enthusiast, but if your home doesn’t come with one built in — or if your old one is worn out — installing a new GE hood can seem like a daunting task.
However, it only takes a few simple tools and some know-how to install a GE range hood in your kitchen. They come in a variety of sizes, strengths, and configurations, so you’ll need to check the manufacturer’s guide for precise instructions, but these basic guidelines will help you on your way to getting your kitchen cooking-ready.
Range Hood Installation Basics
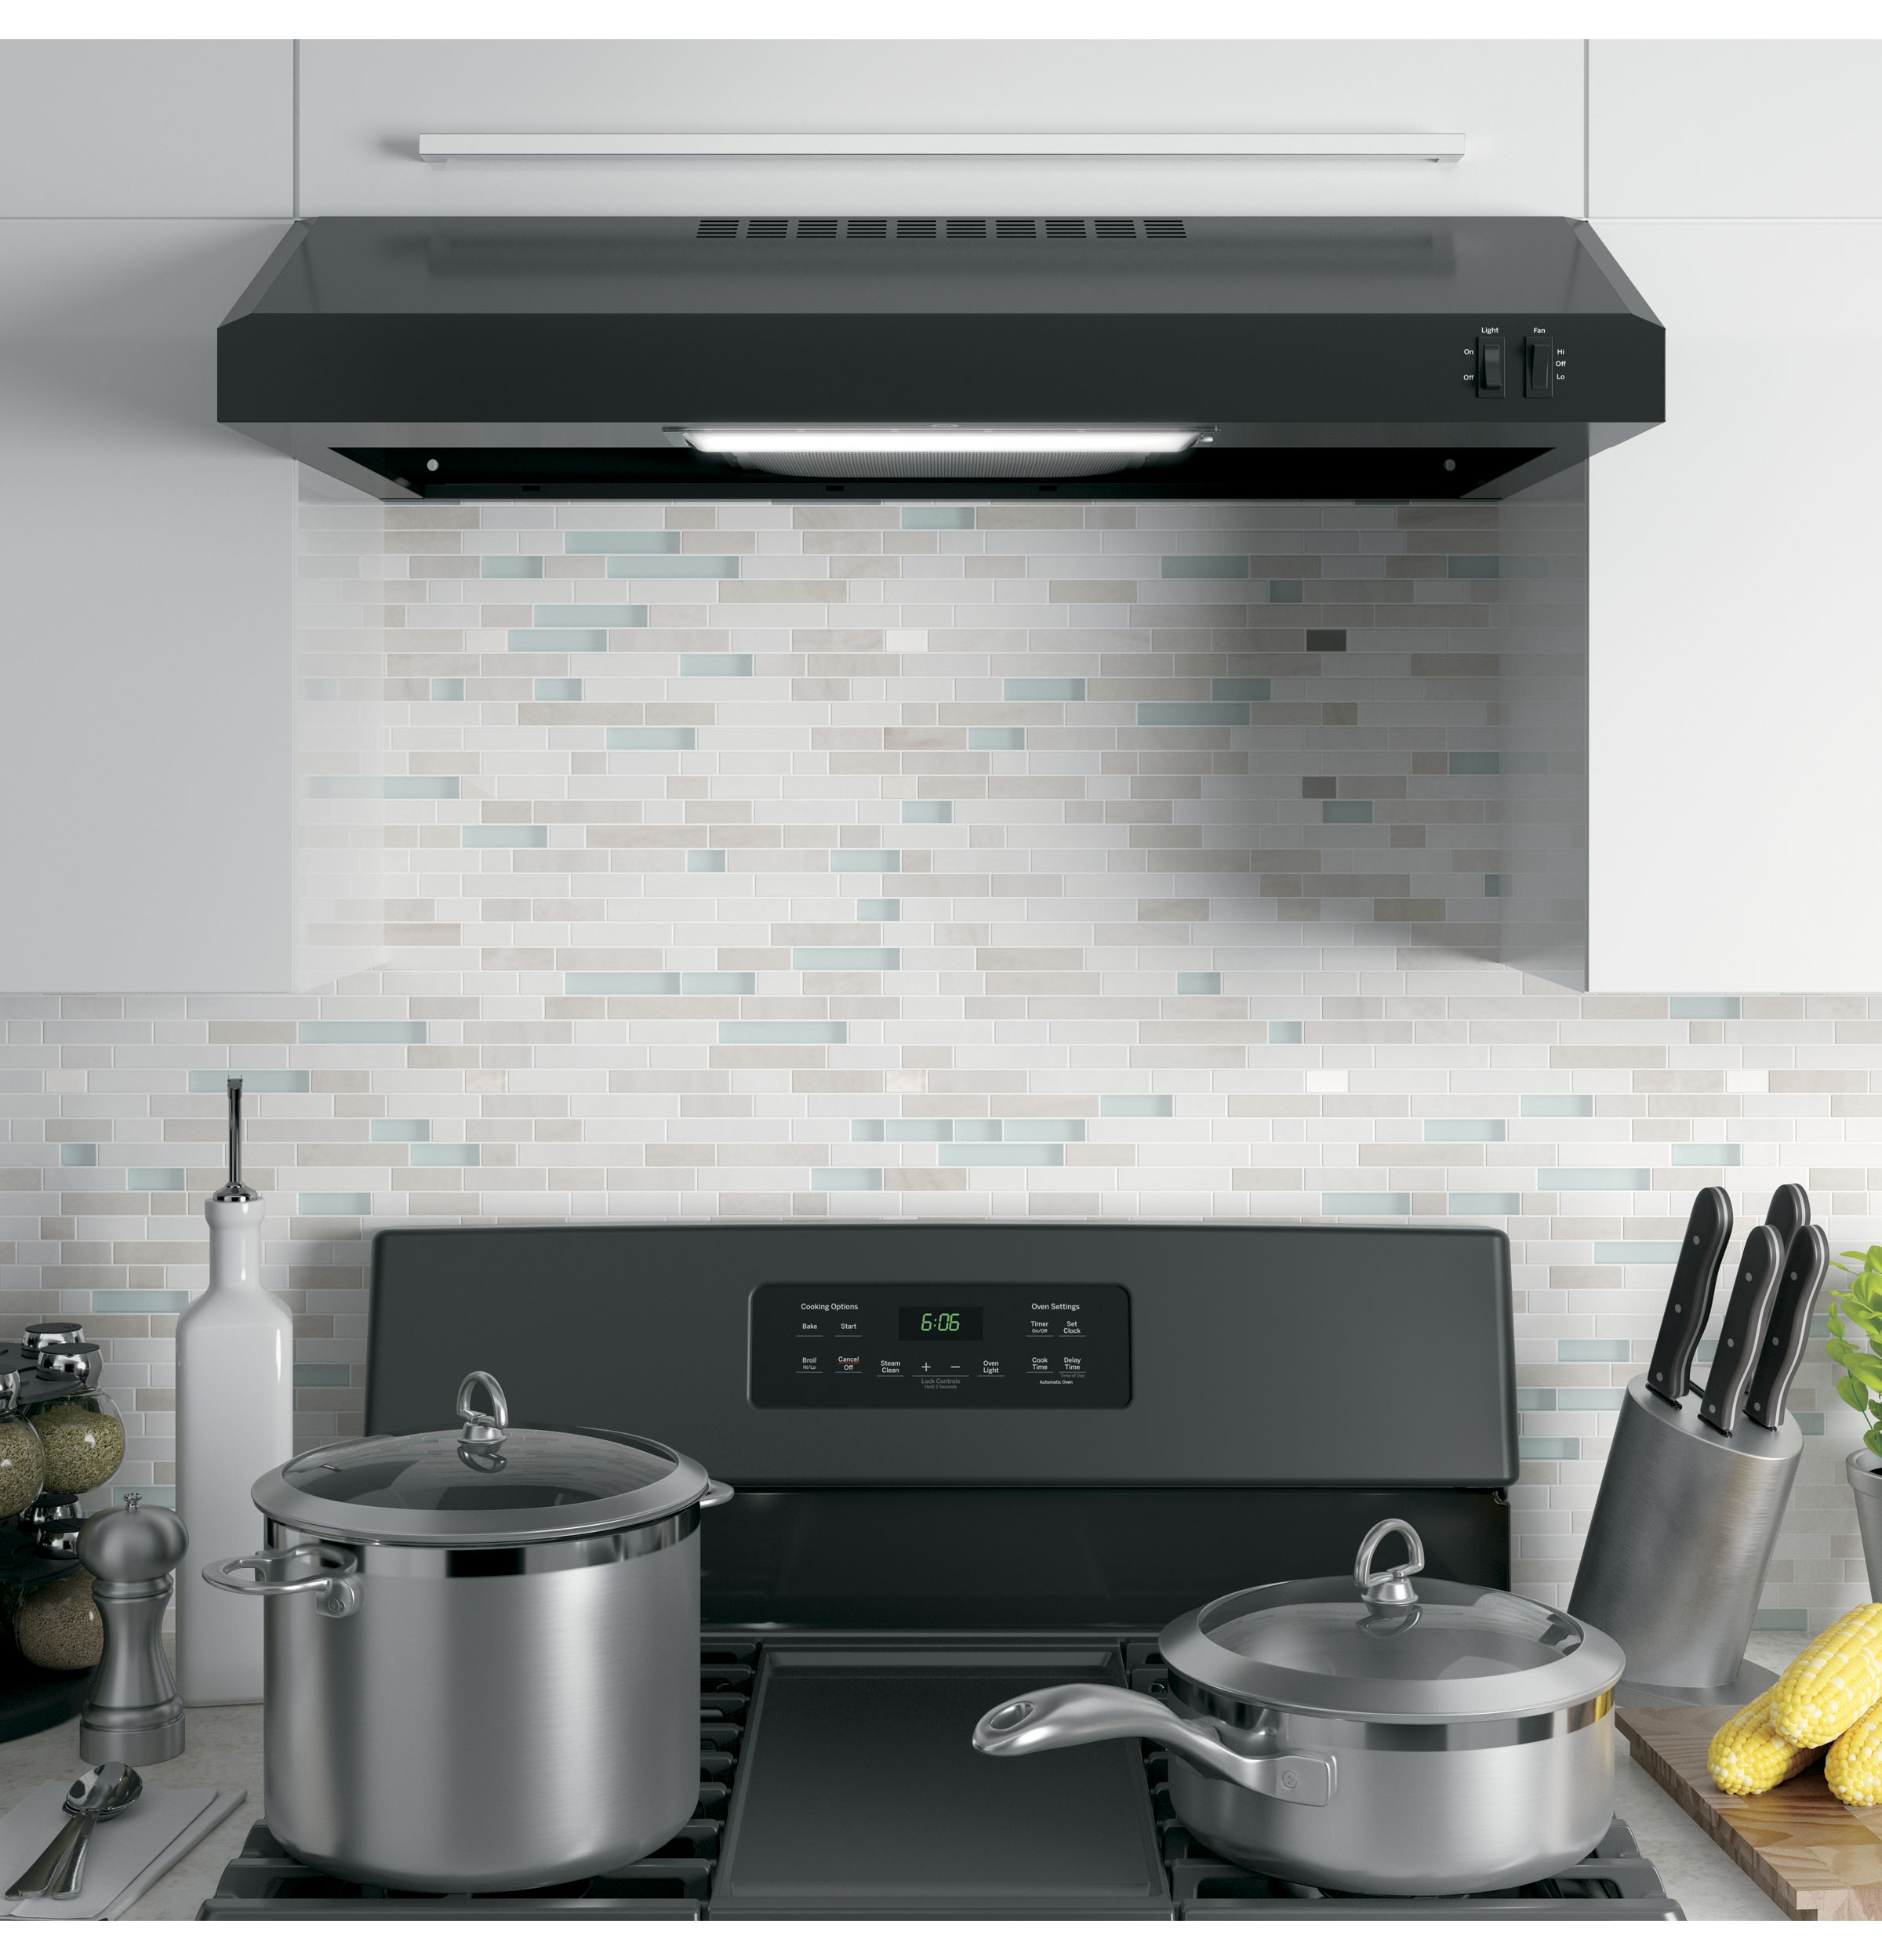
- Pick out the right range hood. Your choice will depend on how much you cook and how your kitchen is set up. If you have a clear space above your range, you can use more sophisticated chimney, island, or wall mount hoods, but if your stove is directly under cabinets, you’ll have to opt for an undercabinet hood. Undercabinet hoods tend to be easier to install since many of them don’t require a duct leading outside the house, but be aware that models which recirculate air rather than venting it may not be as effective.
- Take safety precautions. Turn off the power to your kitchen and lock the panel box to make sure no one turns the electricity back on until you’re done. Be sure to wear goggles, gloves, and a mask while you work.
- Check your venting. If you want to install a vented hood, make sure you have the proper ductwork and a range hood that matches it. Undercabinet hoods typically have ducting either running up through the cabinets above, or back through the wall behind it. If you’re installing new venting for your GE range hood, be sure that it doesn’t end in the attic or against a wall. All vents should lead outside the house, to avoid heat buildup and potential fire hazards.
- Remove your old hood, if you have one. After shutting off the power, open up the panel covering the electrical wiring on your old hood and disconnect all the wires. If you have an undercabinet hood, loosen the screws that attach it to the cabinet above, but don’t remove them completely. You should be able to slide the hood off the screws. Once you’ve set the old hood aside, remove the screws from the cabinet.
- Make sure the new hood fits correctly. Depending on the type of hood and range, the new hood should be about 20 to 30 inches above the surface of the cooktop. Hoods can hang slightly lower over electric stoves as compared to gas-powered. For optimal results, make sure the range hood covers the whole cooking area, with a 3-inch overhang on all sides, if possible.
- Reconnect your new GE range hood. In all instances, be sure to read and follow the manufacture’s installation instructions. Hold the new hood in place and thread the wires from the wall through a small hole in the back of the hood. There should be one black and one white wire coming from the wall, as well as two black wires and two white wires coming from the hood. Connect the two black wires from your hood to the black wire on the wall, and the two white wires from your hood to the white wire on the wall using wire connectors. Tuck the wires away, replace the panel cover, then screw the hood in place using the type of screws recommended by the manufacturer. Turn your power back on and test it out to make sure your new range hood is fully functional.
Amanda, Your Appliance Expert