Your Guide to Busting Summer Stains

Your Guide to Busting Summer Stains

With summer comes a lot of good things: Sunshine, great weather, and no school for the kiddos and vacation for you! It’s a great time of year, by all accounts. But some of the things it brings can be a real pain: Those sorry summer stains.

Between sliding into home base, tumbling into the grass, hiking through the mountains, biking through puddles, and other forms of summer mischief and playing, stains can quickly accumulate faster than you can keep up.

Don’t worry though – that’s what we are here for! Here are some common summer stains, and the best way to fight them with your trustworthy GE laundry appliances!

Sunscreen

It may be the toughest defence against the harmful rays of the sun, but sunscreen can wear out its welcome when it stays behind and stains garments and spaghetti straps alike. When that happens, whatever is a person to do?

First, wipe off as much of the sunscreen as you can. Rinse the garment under cold water, apply some detergent, and then run the clothing in the hottest water it can stand. And next time, apply the lotion a little less liberally!

Strawberries

They may taste good, but strawberries certainly don’t look good on your white summer attire. To fight back against strawberry stains, first start by dabbing the stain with cold water. Apply a stain remover and then wash as normal.

You can also use your GE washer’s Stain Inspector cycle which comes with 40 preset stains options to tackle some of the most common stains.

How to get rid of grass stains

Grass

No matter what you do, kids are going to roll in the green, green grass of home … or the even nastier green, green grass of forests, trails, and other areas that leave nasty stains.

Be prepared! First pre-treat the stain, either with laundry detergent or vinegar. Let it soak for 30 minutes, then scrub the stain the best you can. Wash it as normal, and then rinse and repeat until the grass stain is no more! If it’s something your kids need washed fast, go for the Quick Wash on your GE washer. It will get that uniform ready to go in no time, even if you kid forgot about it until right before game time.

Sweat

If you are one of those magical, unicorn-like people who don’t sweat throughout the summer, then we’re pretty jealous! But if you are like the rest of us, then dealing with sweat – and the subsequent sweat stains – is just an annoying part of life. To tackle such stains, first mix together two tablespoons of vinegar with one cup water, then pour over the stain and let it soak. Use cold water to wash it: Heat is only going to make the stain set.

To make extra sure the stain is gone, mix together ½ cup baking soda with a tablespoon of salt and hydrogen peroxide and apply that to the stain before washing again.

Stains and summer seem to just go hand in hand, and the best thing you can do is to be prepared to tackle them as they come! Of course, the better your washer, the easier stains will be to take care of.

If your washer just isn’t up to snuff, give us a call or stop by today! One of our appliance experts will be happy to help you find a washer that will wash away all of your summer stain blues!

Amanda, Your Appliance Expert

5 Appliance Safety Hazards to Avoid

5 Appliance Safety Hazards to Avoid

There are two types of people in this world: Those who can be left alone with power tools, and those who shouldn’t.

No matter what type of person you are though, we all could use a refresher in appliance safety. Whether you are in the market for new Samsung appliances or not, it’s always good to keep safety in mind, especially with all the things that can go wrong in a kitchen. Let’s take a look at a few safety hazards to be mindful of, and remember to put those hard hats on!

1. Fire In the Fridge!

Now, you might be wondering how in the world a fridge, which keeps things cold and frozen, can possibly be a fire hazard? Well, wonder no more because we’ve got the answers as to why the coldest place in your kitchen could end up burning in a blaze.

There are a few things you need to keep an eye on fridge-wise. First, you want to make sure to keep your fridge area clean – make sure to sweep often underneath and behind it to keep dust from building up around the fridge’s electronics.

Second, you also want to keep an eye on the fridge cord and make sure it doesn’t get frayed or leave part of the wire exposed – that’s just an electrical fire waiting to happen. For example, Robbie thought it was a smart idea to try to move the fridge on his own one day – why, nobody knows – and rolled the fridge over the cord, which damaged it. That’s a big risk for electric fires, so make sure to, as always, learn from his mistakes.

2. Sometimes Drier Is Better

We get it – sometimes you are moving a mile a minute when you are cooking and working in the kitchen. These are busy times, and multitasking is a great way to get a lot done at once, but, it’s also important to keep safety in mind. Going right from washing the dishes to plugging in the blender – hypothetically of course, not that anybody would actually do that, ROBBIE – is dangerous, and any time you are using something electric you want to make sure that your hands are dry. And no, not air dry, Robbie, actually dry.

Microwave - Safety Tips

3. Why You Shouldn’t Microwave Metal

On that “life is always busy” note, sometimes there just isn’t time in the day to cook. That’s where the handy dandy microwave comes in.

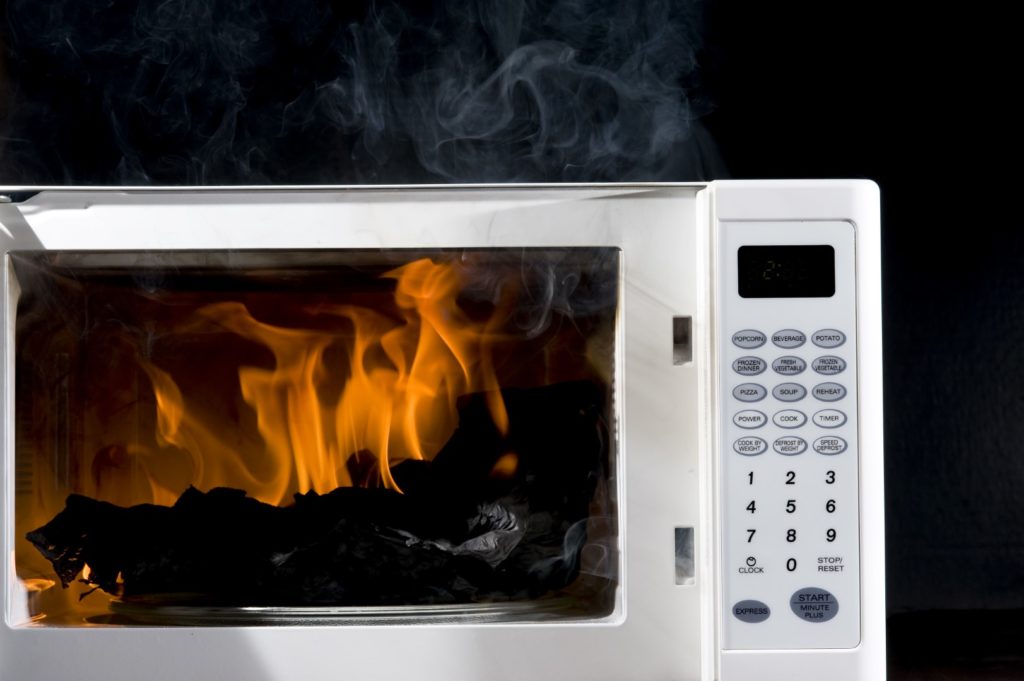
But, please please please, keep certain things out of the microwave. Like metal. That means utensils should NOT go in the microwave, even if you want to warm up your spoon before scooping ice cream. It’s really dangerous and can lead to a fire, not to mention explosions! Just don’t do it.

Action figures are also not microwave approved, for the record, Robbie. Nice try, though.

4. Close, But No Cigar

When you have a lot of small kitchen appliances it can be hard finding counter space for all of them, especially if you are constantly using all of them to put meals together. Counters always seem to be one appliance-length short of whatever you need!

There’s one thing you want to keep in mind when you are placing Samsung appliances, though. Your toaster? Yeah, the square little box that makes toast? You don’t want it anywhere near your stove or oven.

Why? Well, even though toasters get hot on the inside, if they are too close to over sources of heat, they can get damaged on the outside. Only you can prevent forest…we mean, kitchen fires.

5. Plug ‘N’ Play

When it comes to appliances and outlets, one can never be too careful. There are a lot of things you should keep in mind – such as making sure your outlets are grounded and that you aren’t using extension cords to plug appliances into the wall. Appliances are powerful things, and should be treated as such!

Well, we don’t know about you, but we feel a lot better now that we’ve refreshed on some basic appliance safety tips. Of course, you can’t have appliance tips to remember without appliances themselves – and that’s another thing we can help with! We’ve been providing families in this area with top quality Samsung appliances for years, and that’s what we love to do!

Amanda, Your Appliance Expert
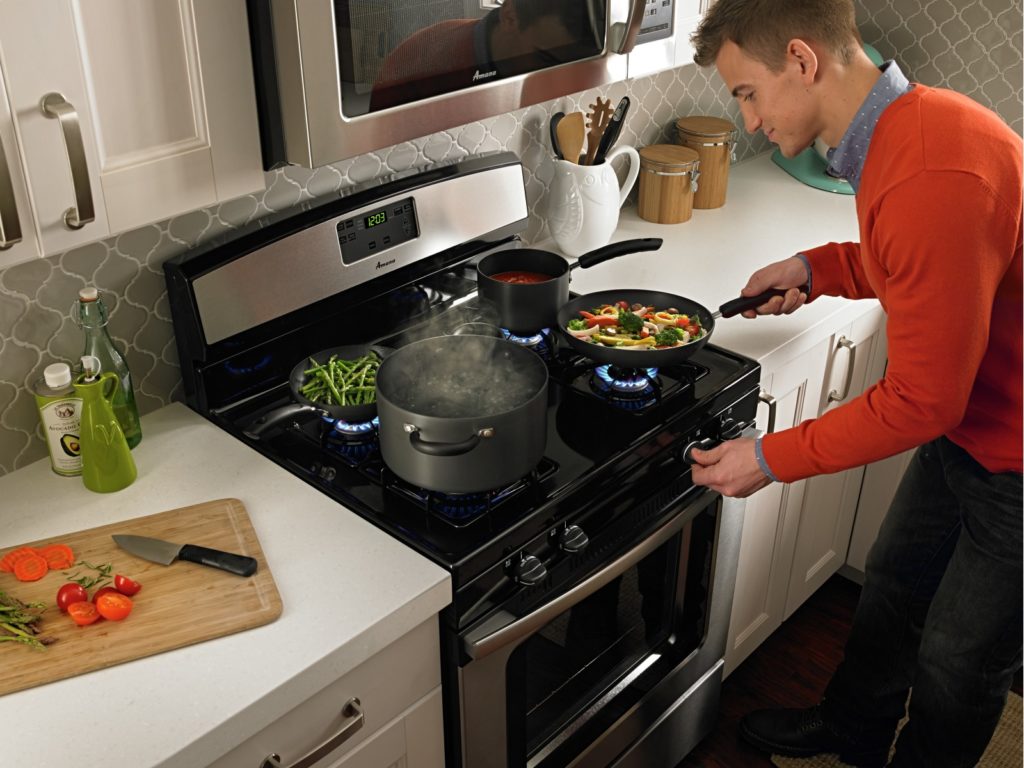
The Right Way to Load a Bosch Dishwasher

The Right Way to Load a Bosch Dishwasher

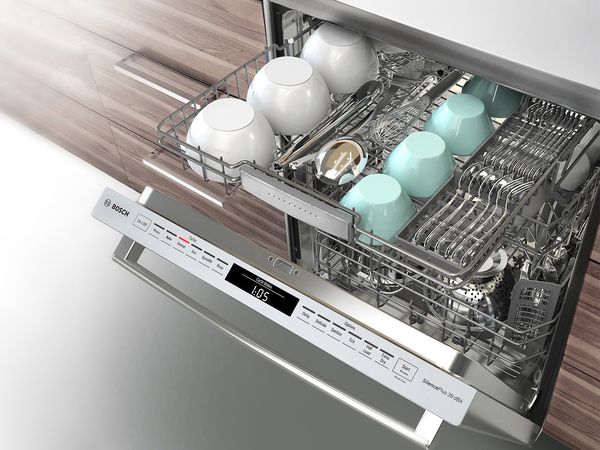
With three racks — including a middle rack that adjusts to 9 different racks — the Bosch dishwasher takes capacity and loading to new heights, while also being the quietest dishwasher brand in Canada.

Although dishwashers are meant to make our lives easier, the way you load your dishes can be the difference between perfectly clean dishes, or dishes with pieces of food still clinging on for dear life.

Check out these tips to maximize your Bosch dishwasher, and get perfectly cleaned dishes every single cycle.

1. Load the Bottom Rack

Use the bottom rack to load heavy items like pots and pans, mixing bowls, and large plates. Never overlap or nest items — instead place dishes so that the most soiled areas face the spray arms. Organize larger items like platters and baking sheets toward the sides of the dishwasher, where they won’t block detergent and/or water from reaching the rest of the dishes. Also, make sure the baking sheets do not block any vents.

Next, load flatware or utensils to the bottom rack. Place knives face down – for safety’s sake! — and separate spoons and forks from one another so they don’t nest.

2. Load the Middle Rack

Next, load smaller items like glasses and mugs on the middle rack. When it comes to wine glasses and coffee mugs, place them face down at an angle to help prevent water from collecting inside. Some Bosch dishwashers come with a third rack to load more items, but if you only have two racks, lay longer utensils flat across the bottom rack so that they will not fall and get caught in the spray arms.

3. Load Top Rack

The newest Bosch dishwashers feature a third MyWay™ rack, which has the largest loading capacity of any third rack on the market. The standard Bosch third rack is also good for loading silverware, large utensils, measuring cups, cereal bowls, and coffee mugs. For best results, load larger items on the top rack so they are thoroughly cleaned.

4. Soap and Settings

After successfully loading your Bosch Dishwasher, add soap and select the setting of your choice. Use a manufacturer recommended dish soap, as other detergents can cause build-up that will clog the system. Always be cautious on how much soap you use, too: Too much liquid soap can leave a residue on your dishes, and nobody wants to eat off slimy and soapy plates.

Next, choose the best setting for the job: Use the delicate setting for items like fine China or glassware, the heavy setting for tough jobs like pots and pans, or the extra dry setting for hard-to-dry items like glass and plastic.

Bosch dishwashers also have a setting called Speed60 — which washes and dries in one hour — a feature that’s especially convenient when preparing for an upcoming dinner party or special occasion.

And don’t forget: Always make sure there is enough room between plates and try and wait until the machine is full before you start it. Following these easy steps will allow for a more efficient clean and keep your dishes — and you — much happier.

Amanda, Your Appliance Expert
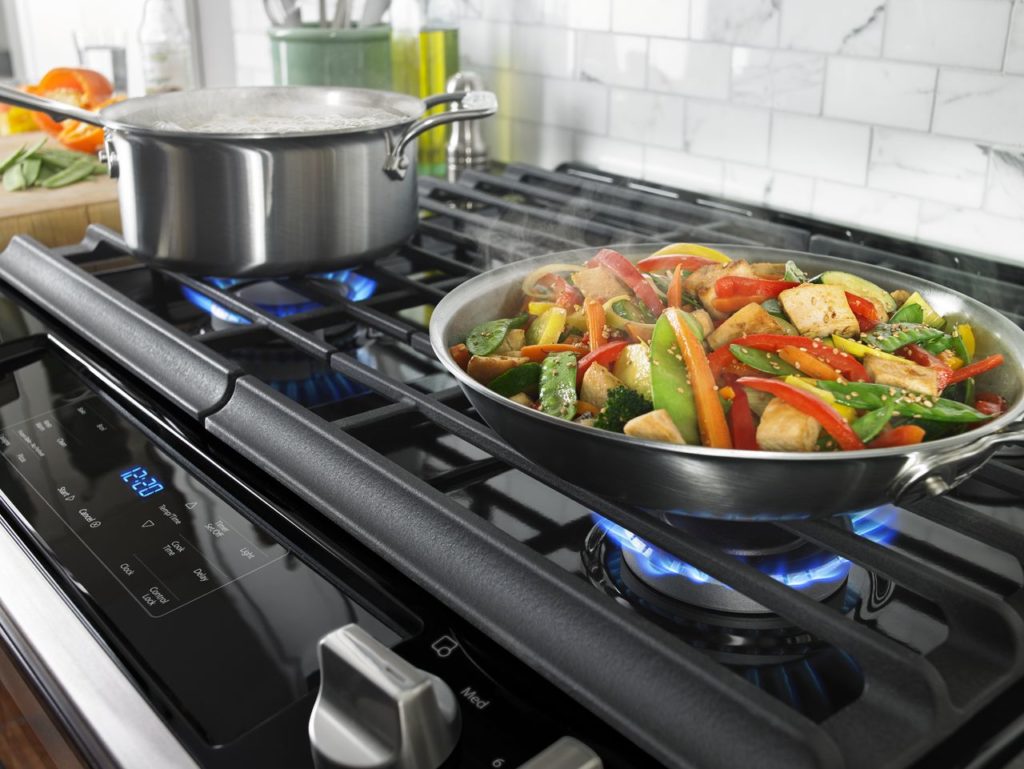
How to Choose the Perfect Range for Your Kitchen

How to Choose the Perfect Range for Your Kitchen

Choosing a new range is a big decision. It needs to fit your kitchen, both functionally and stylistically. And with any luck, you won’t buy another range for many years, so you don’t want to regret your decision.

From commercial to designer and everything in between there are a lot of looks, and a lot of cooking styles to consider when choosing a range.

So how do you know which range style is right for you?

Starting with Fuel Types

The first thing people notice about a range is the cooktop. Does it have the smooth glass finish of electric and induction or the heavy cast iron grates that come with gas.

When it comes to fuel types most people choose what they’re most comfortable cooking with, what they’re most used to. But there are other things to consider too.

Gas cooktop - range fuel types

Electric ranges are going to be the most affordable, and the least intimidating if you’re not 100% comfortable in the kitchen. Gas is going to be incredibly precise, and a Professional Style range is far and away the most popular look. Induction is the safest, the most efficient, and the most powerful – but it can also be the most expensive. It has the most redeeming feature of a gas range and It is incredibly precise as well.

Performance vs. appearance can really matter here. So be sure you do your research and get the style that works best for you.

Following with Design

As you do your research you’ll come across terms like slide-in ranges, and freestanding ranges and honestly the official classifications can be a little confusing.

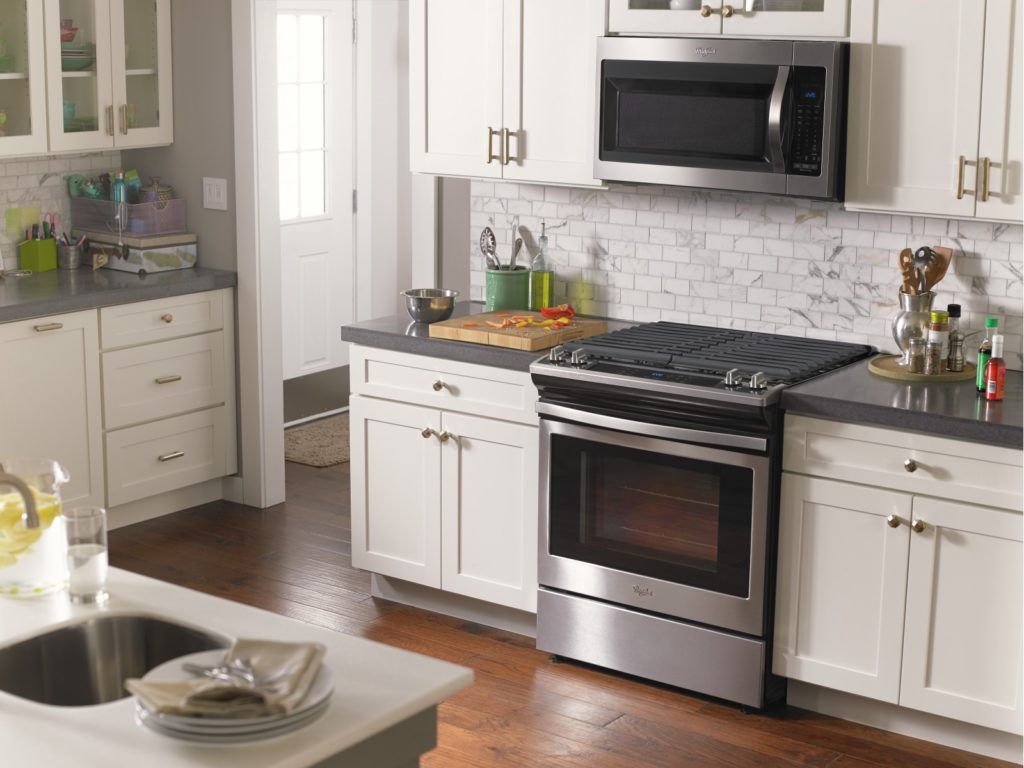
Technically a slide-in range has unfinished sides, and needs to slot into a cut out in your cabinetry because the top is slightly wider than the normal 30” opening size which gives the range a built-in look. A normal freestanding range has a backsplash with the controls on the backsplash, finished sides and can sit open.

Now that we’ve got that out of the way here’s what it really means. Slide-in ranges have front controls and a more professional look. Freestanding ranges have a backsplash, where the control panels are usually mounted.

Slide-in range

There’s more. But that’s a good rule of thumb. And…the “more” is that now we have slide-in, freestanding ranges…where the range has front controls, no back splash, the sides are finished it fits into a 30” slot.

Generally, people prefer the look of slide-in ranges, and they often come with more features than their freestanding counterparts. But if you have small children, then keeping little hands away from the controls is a thing, so backsplash may be a better option.

Picking the Right Finish

When it comes to performance, there’s not a huge difference when it comes to range finishes. Stainless steel requires moderately more upkeep than traditional white or black. And trendy new looks like black stainless can offer the best of both worlds. And today’s manufacturers are now showing stainless steel ranges with finishes that are fingerprint resistant.

When it comes to the colour of your range, ultimately that’s going to come down to you. You’re going to look at it every day for more than a decade. Make sure you like it!

Considering Key Features

Digging into the functionality of your new range, you’ll come across a number of innovative features that will expand your cooking and in some cases dramatically change the look of your new appliance.

Here are just a few of the most popular options out there. But there’s plenty more where these came from.

CONVECTION

Convection ovens use a fan to circulate the hot air within the oven cavity. That circulation eliminates cold spots, preheats and cooks faster than standard ovens, all while searing in juices and cooking more evenly. True convention ranges also feature an additional element wrapped around the fan to enhance the convection cooking process.

WARMING DRAWERS

Designed to keep prepared food warm for up to three hours, warming drawers replace storage drawers in freestanding and slide-in ranges. In some models, warming drawers can also cook food at low temperatures and can even proof dough for bakers out there.

SPECIALIZED BURNERS AND ELEMENTS

Speciliazed burners in ranges

One trend we’re seeing is increasingly specialized cooktops as the professional versatility expands into the rest of the market place.

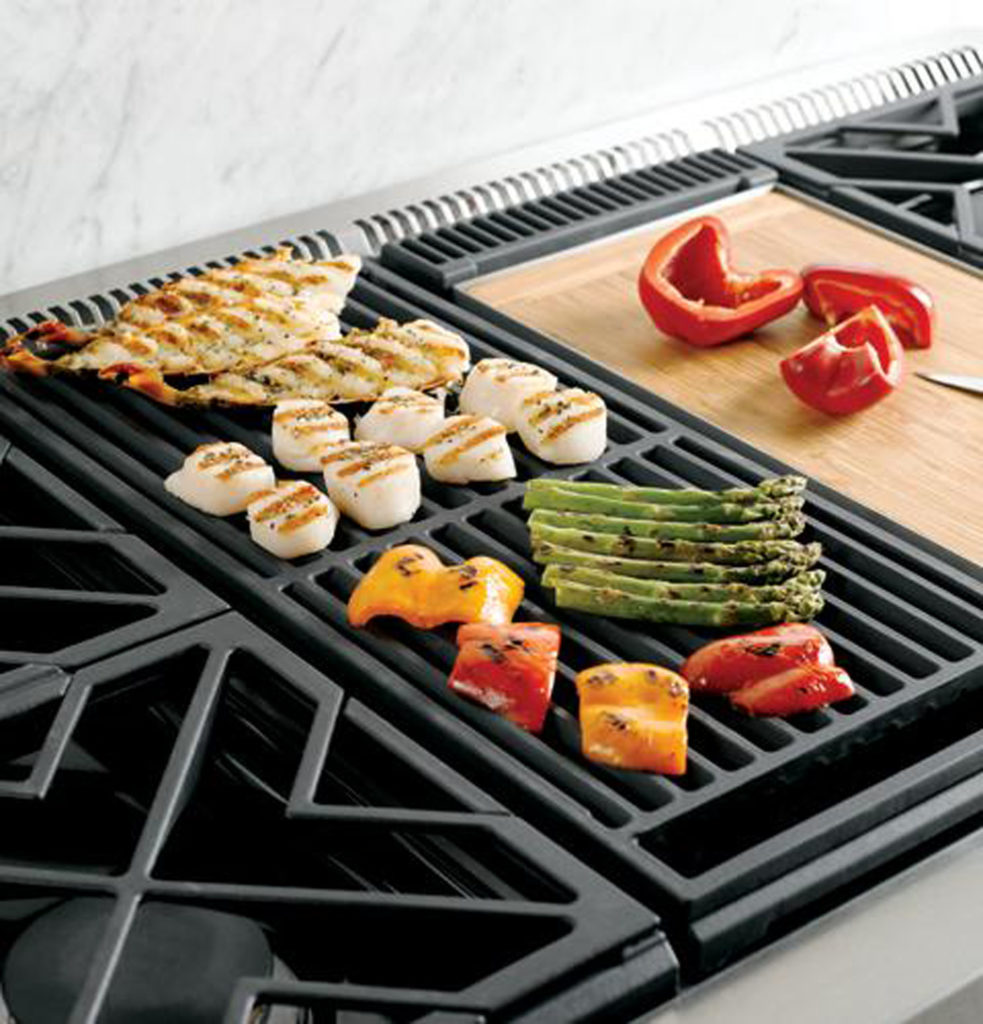
5, 6 or more burners/elements allow you to cook more items at one time. Specialized burners/elements allow you to cook with more precision; Power for increased heat, Simmer for more delicate cooking, and bridge elements for more utility. Grill and griddle tops allow you to cook directly on the cook surface, while warming elements give you a dedicated space to place food before it’s ready to serve.

There’s a lot to take in, but that’s OK. This is just the beginning. Be sure to check out our other great articles on ranges in our blog, and you’ll have your family’s perfect new range baking, broiling and cooking away in no time!

And when you’re ready to shop ranges, head over to our store to find exactly what you’re looking for.

Isabelle, your appliance expert

GE Kitchen Appliance Finishes: Brand New Looks for a Better Kitchen

GE Kitchen Appliance Finishes Brand New Looks for a Better Kitchen

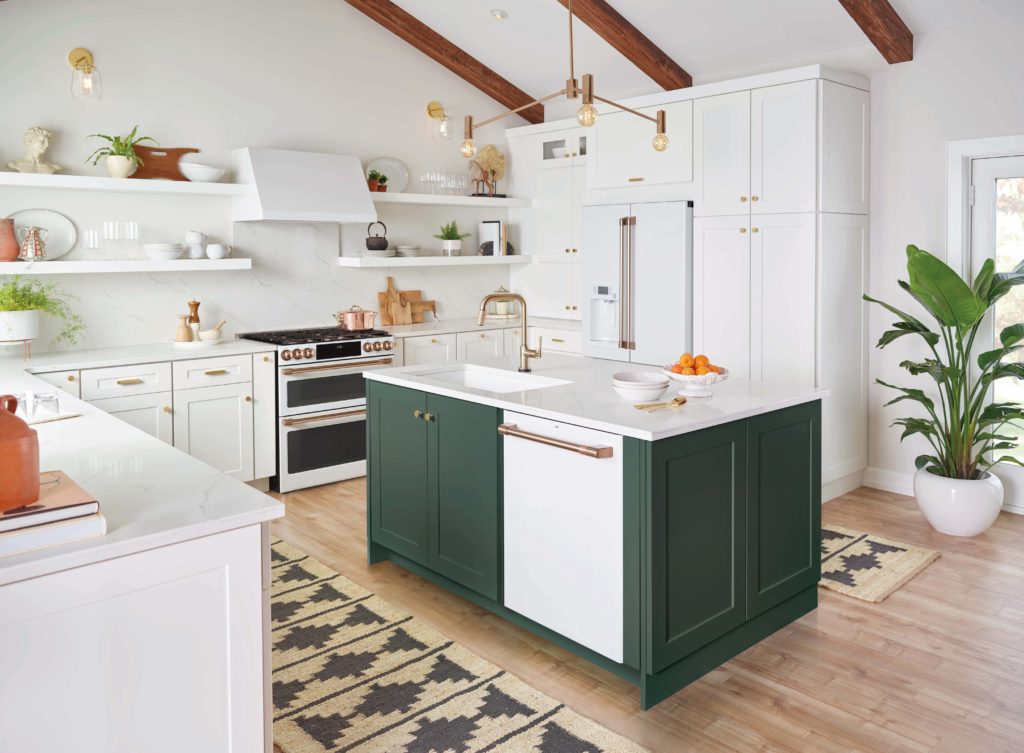
GE Café Matte White Finish with Brushed Bronze Hardware

Designing the perfect kitchen isn’t easy. From countertops, to cabinets a lot goes into a kitchen design and appliances are the pieces that tie a look together.

Whether it’s traditional, contemporary, or even something heritage inspired GE, GE Profile, and GE Café appliances have premium finishes to match any kitchen. But with so many finishes to choose from, how do you make the choice that’s right for you?

Well, here are a few of GE’s industry leading options to keep in mind.

White and Black Finishes

White and black appliances have always been part of a traditional kitchen, but today white and/or black finishes are the perfect addition to any high contrast kitchen design. Easier to clean, more fingerprint resistant and less expensive than other finishes, both white and black appliances remain a popular and timeless choice.

Stainless Steel Finishes

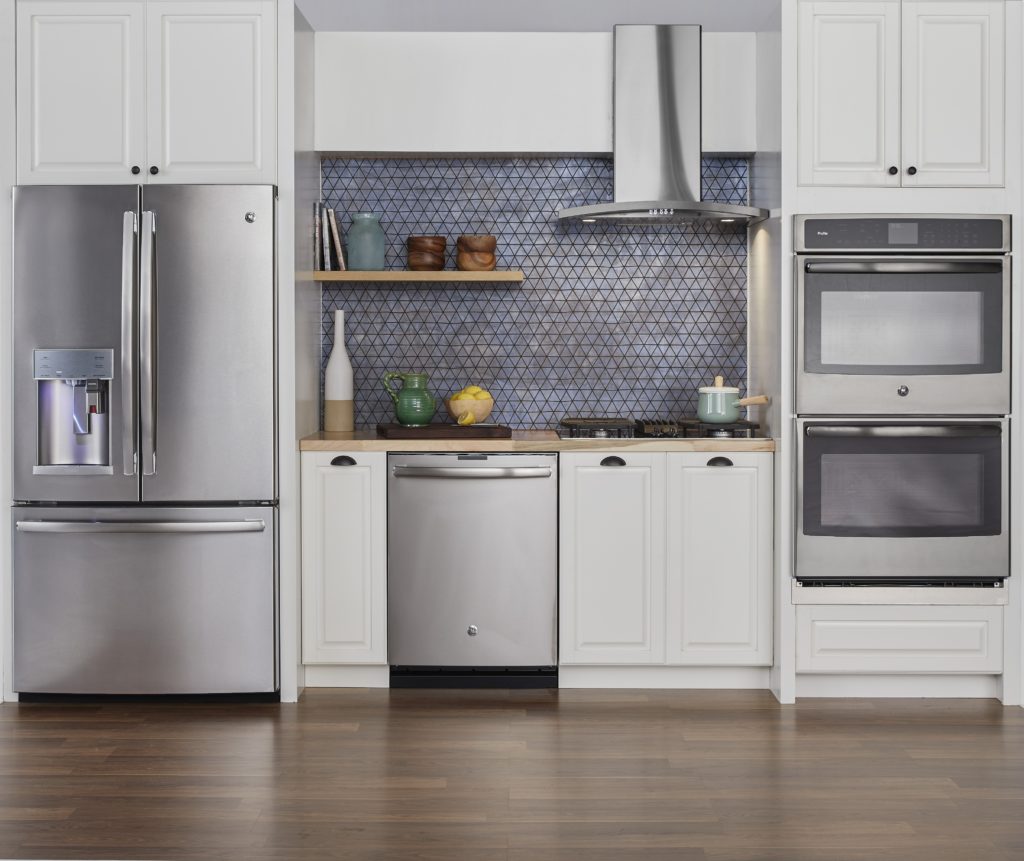
GE Profile Stainless Steel Finish

GE Profile Stainless Steel Finish

Inspired by commercial kitchens, stainless steel appliances remain the most popular choice on the market. Its neutral tone makes it a perfect complement to a wide number of colour palettes and kitchen designs. With many commercially available stainless steel cleaners to choose from, stainless steel appliances’ high gloss finish immediately upgrades any kitchen you put them in.

SHOP GE APPLIANCES IN STAINLESS STEEL FINISH

Black Stainless Steel Finish

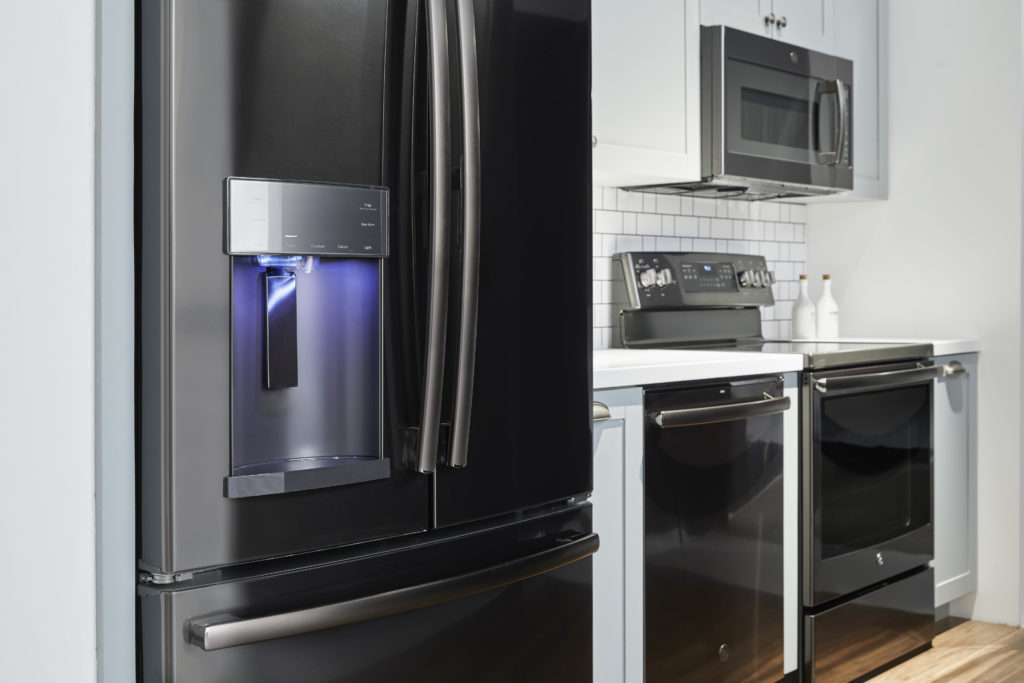
GE Profile Black Stainless Steel Finish

GE Profile Black Stainless Steel Finish

Available in both the GE and the GE Profile lines, Black stainless steel finishes offer a brushed metal appearance with more fingerprint resistance than traditional stainless steel. If you’re looking for a more unique high-end metallic finish then GE’s Black Stainless collection could be right for you.

SHOP GE APPLIANCES IN BLACK STAINLESS STEEL FINISH

Slate Finish

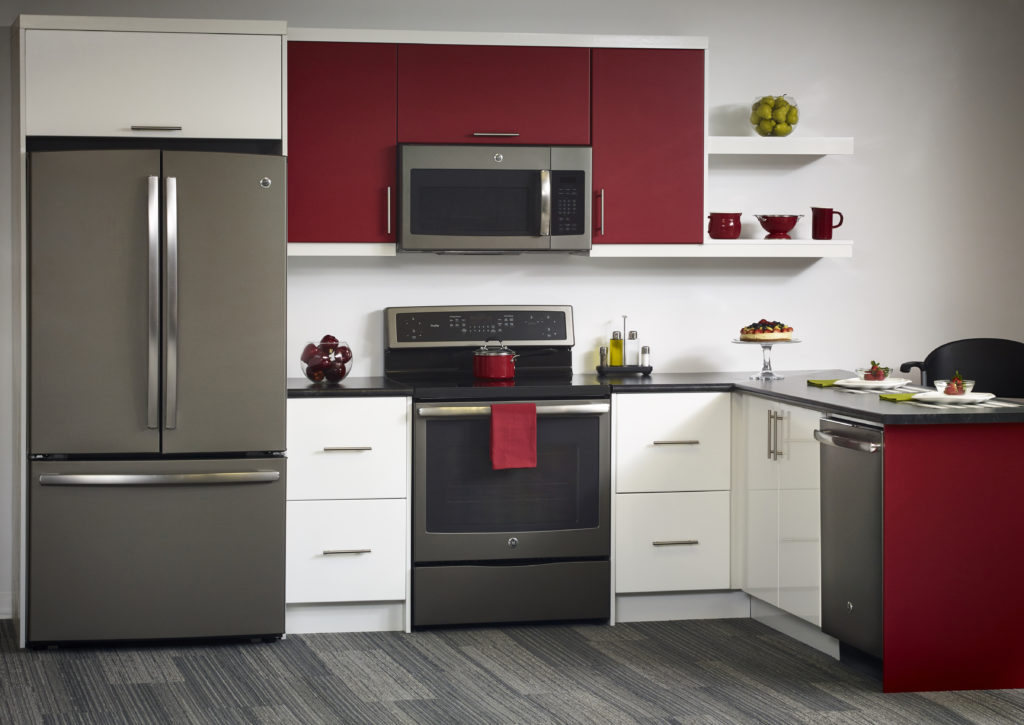
GE Slate Finish

GE Slate Finish

First introduced in 2014, GE and GE Profile Slate finishes are the perfect addition to the modern home. Specifically designed for open concept living, Slate’s neutral stone-inspired colour scheme will literally match anything, and its matte finish will hide both dirt and finger prints. Versatile, and elegant, Slate is one of GE’s most popular finishes for a reason.

SHOP GE APPLIANCES IN SLATE FINISH

New GE Café Appliance Finishes

GE Café Matte Black Finish with Brushed Hardware

GE Café Matte Black Finish with Brushed Hardware

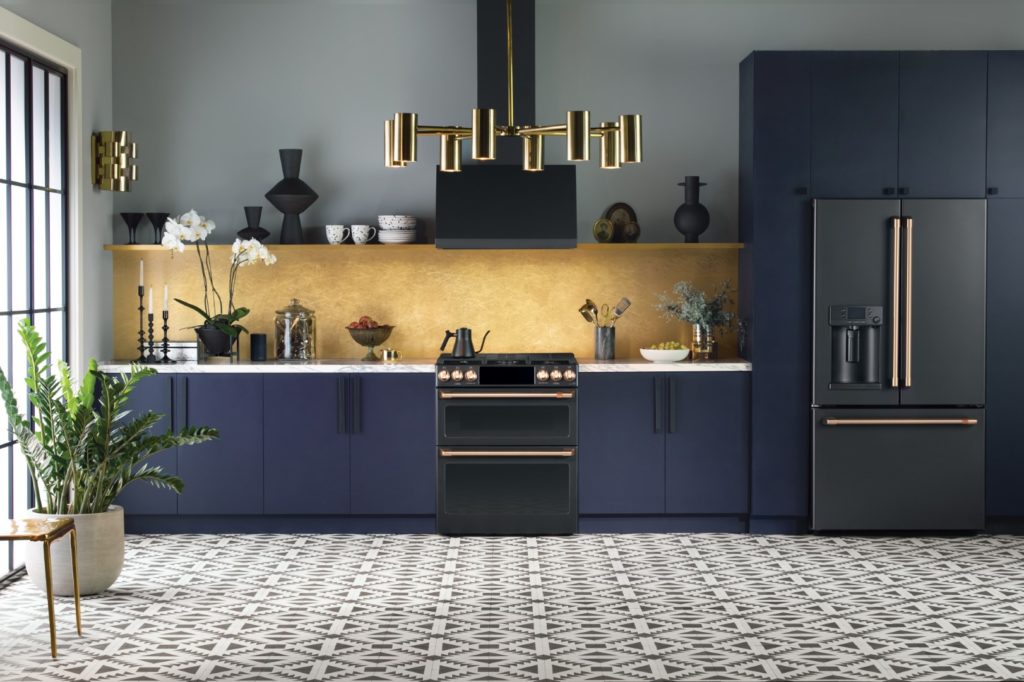
GE’s new Café series has taken personal appliance finishes to the next level. Available in either Matte White, Matte Black, or Stainless Steel finishes with complimentary brushed copper, bronze, stainless steel or black handles and accents the new Café is perfect for people who want a premium kitchen design as distinctive as they are.

DISCOVER THE GE CAFÉ DISTINCT BY DESIGN COLLECTION

As the industry leader in appliance finishes, there are more GE options than ever before. And with so many amazing finishes available, finding your perfect kitchen has never been easier.

Isabelle, Your Appliance Expert

How to Make the Most of Your Samsung Warming Drawer

How to Make the Most of Your Samsung Warming Drawer

Most homes with a range have a warming drawer, but that news might come as a surprise to plenty of range owners. Too often, that little drawer underneath an oven gets turned into storage for spare cookie sheets and unused skillets. But that drawer has a lot more to offer than a little extra space!

If your Samsung warming drawer has been collecting dust, or you’re thinking about buying a Samsung range that has a warming drawer but aren’t quite sure how to use it, try a few of these ideas for making sure you’re using this handy appliance the right way.

Warm Up Dishware

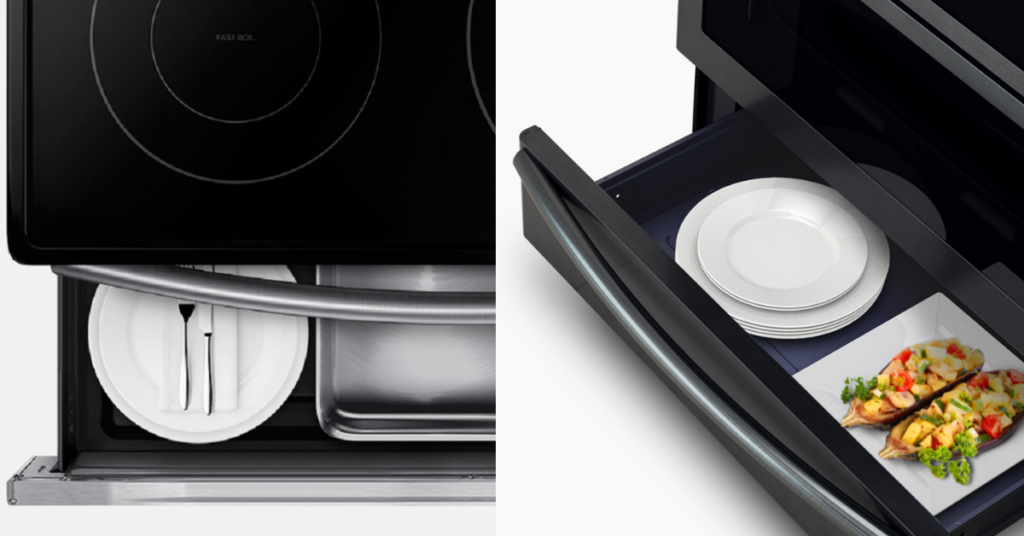
Hot food served on a cold plate is quickly going to become a lukewarm meal. Not only will a warm plate keep your food piping hot, many dishes maintain better flavours and consistency when served on warm dishware. A warming drawer is the perfect way to keep your plates and bowls nice and toasty. You can even keep mugs in there to make your tea or coffee on chilly mornings that much cozier!

Save Missed Meals

Warming drawer to keep missed meals warm

Maybe the kids got held up at band practice and missed dinnertime, or maybe you had to put everything on hold right before serving a meal because OH NO, YOU FORGOT TO PICK UP THAT THING YOU NEED AND THE STORE CLOSES IN TEN MINUTES!

Sometimes family dinner plans just don’t go the way you hope, but that doesn’t mean you should have to settle for cold food that’s been sitting out for hours. Just place your crockpot, skillet, or serving dish in the warming drawer and your food will stay fresh and ready to eat for the rest of the evening.

Make Food Prep Easier

When you’re hosting a holiday party or a family get-together, you’re going to be whipping up food like nobody’s business. Getting the timing just right on all those dishes can be tricky – how on Earth are you supposed to make sure that your soup doesn’t get cold while the fish is in the oven? Or that your casserole doesn’t get stale while the brussels sprouts are roasting? With a warming drawer, that’s how!

Instead of struggling to finish making all your food at the exact same time or leaving dishes to get cold on the counter, you can keep your finished food nice and toasty in the warming drawer until you’re ready to serve your meal. Your guests will be impressed with your cooking skills, and you can set aside the stress of perfect timing.

Help Dough Rise

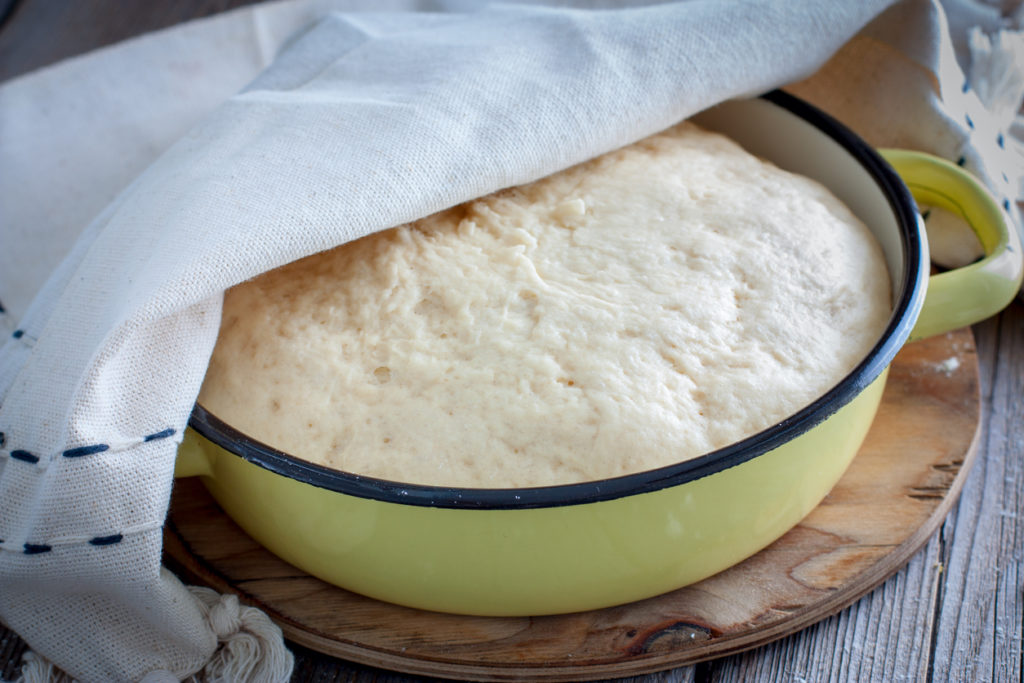
Dough rising in warming drawer

If you’re a fan of fresh-baked bread or homemade pizza, your warming drawer is a one-way ticket to the perfect dough! Instead of taking up oven or counter space to proof your dough, place it in the warming drawer with a bowl of hot water. That way, it will stay safe from contaminants or curious pets out in the open, and you can still use your oven to cook the rest of the day’s meals.

A good Samsung warming drawer can open up a world of possibilities in your home. So take out those pots and pans and put your warming drawer to work! Or if you don’t have one yet, stop into our store or give us a call to find out what options we have available. We will help you find the Samsung warming drawer that will make your life much more convenient and enjoyable.

Amanda, Your Appliance Expert
Shop our Samsung Ranges Now

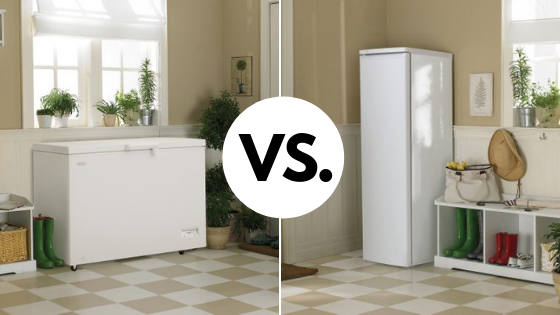
Chest vs. Upright Freezers: Which Danby Freezer is Right for You?

Revised Chest vs. Upright Freezers- Which Danby Freezer is Right for You_

As your family grows, so does your need to make sure there’s always something to eat. At first, this might seem like a simple task. But, as all big families know, keeping great food on-hand can be challenging, especially when freezer space is limited. Whether you have hungry teenagers, love the budget-friendliness of buying in bulk, or just always want to have a meal option on-hand in case of guests, adding another freezer can be one of the smartest decisions you make.

Of course, knowing which freezer to buy isn’t always easy. While the size of the freezer is the obvious place to start when determining which one to purchase, there are a lot of other features to consider. Your best bet when looking at all the different options, including chest freezers and upright freezers, is understanding what really makes them different, and which features are right for your family and your home. From there, you’ll be able to make a confident decision, one that keeps food always on-hand and your family fed.

The Pros and Cons of Chest Freezers

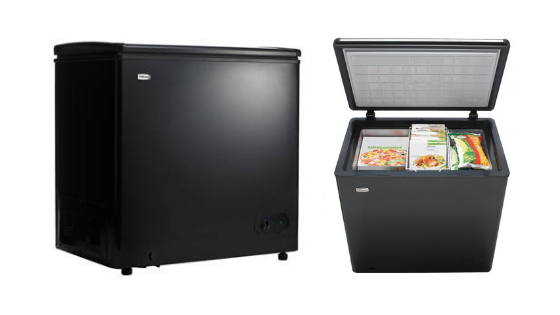
Danby chest freezer

A more traditional style, a chest freezer is typically what people think of when they hear the phrase, “We have an extra freezer in the garage”. Great for storing large items, chest freezers do take up more room, making them a tight (or impossible) fit for some spaces.

Chest Freezer Pros

  • Chest freezers are typically more energy efficient than upright freezers.
  • Chest freezers are usually more affordable and, therefore, a better option for families on a budget.
  • Because of their shape, chest freezers offer more storage options, making them a great choice for families interested in storing larger items, like large cuts of meat and bags of ice.
  • Because of the way they are designed, chest freezers are capable of keeping food fresh even during power outages.

Chest Freezer Cons

  • While their ability to store a lot is great, chest freezers can be difficult to organize, which means finding what you need isn’t always easy.
  • Chest freezers have a larger footprint than upright freezers, which means they’ll take up more space in your home or garage.
  • Chest freezers require you to manually defrost, which can be time-consuming.
  • Chest freezers work best when they’re in a cool, dry place located indoors, which means you might have fewer options when choosing where to put your new freezer.

The Pros and Cons of Upright Freezers

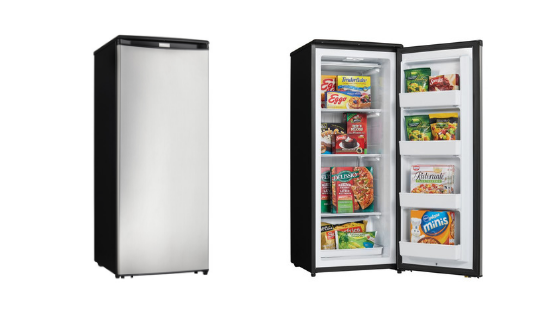
Danby Upright Freezer

The beauty of upright freezers is that they are great for organizing your food. And, because of their swing-door design, upright freezers make it easier to access and find what you need, without having to lift yourself up and over the edge of a giant chest. Available in a variety of sizes, up-right freezers are more compact than chest freezers, making them a fantastic choice for small homes and spaces, including offices and apartments.

Upright Freezer Pros

  • Almost all upright freezers come with an auto defrost feature, making them more convenient and easier to use.
  • Because of their design, upright freezers require less floor space, making them a great choice for homes and spaces short on room.
  • The design of upright freezers lends itself to better organization (almost all of them have shelves) so that it’s easier for you to find what you’re looking for right when you need it.
  • Unlike chest freezers, upright freezers have a swing door, which means it’s much easier for you to reach what you need when you find it.
  • Upright freezers tend to come in more options when it comes to appearance, making them easier to integrate into home spaces.

Upright Freezer Cons

  • In general, upright freezers have more features than chest freezers, which means they are more expensive.
  • Because of their shape, upright freezers can’t accommodate larger or oddly-shaped items.
  • In case of a power outage, an upright freezer will not keep your food frozen as long as a chest freezer will.
  • A lot of users note that upright freezers are noisier than chest freezers.
  • Because of their automatic defrost feature, upright freezers use more energy than chest freezers.

Choosing the Danby Freezer That’s Right for Your Family

Knowing your family’s needs, as well as your home’s requirements, can help you determine which Danby freezer is right for you – a chest freezer model or an upright freezer model. While both are great options, doing your research to understand the differences between the two can help make sure that the investment you make for your family is the best one possible.

While more expensive, an upright freezer can be the perfect choice for a smaller family that loves to keep things organized. Of course, if your family is as big as it is hungry, then choosing a more economical and larger chest freezer might just be your best bet.

When measuring for your new Danby freezer, make sure that you add a minimum of one inch to the overall width in order to ensure your freezer gets the air flow it needs to operate efficiently.

Once you’ve done your research and have determined which type of freezer is right for your home, find the one you need by browsing our online catalogue or by visiting us in store to get more information about our freezer options.

SHOP DANBY FREEZERS

Amanda, Your Appliance Expert
How to Make a Mug Cake in Your GE Microwave

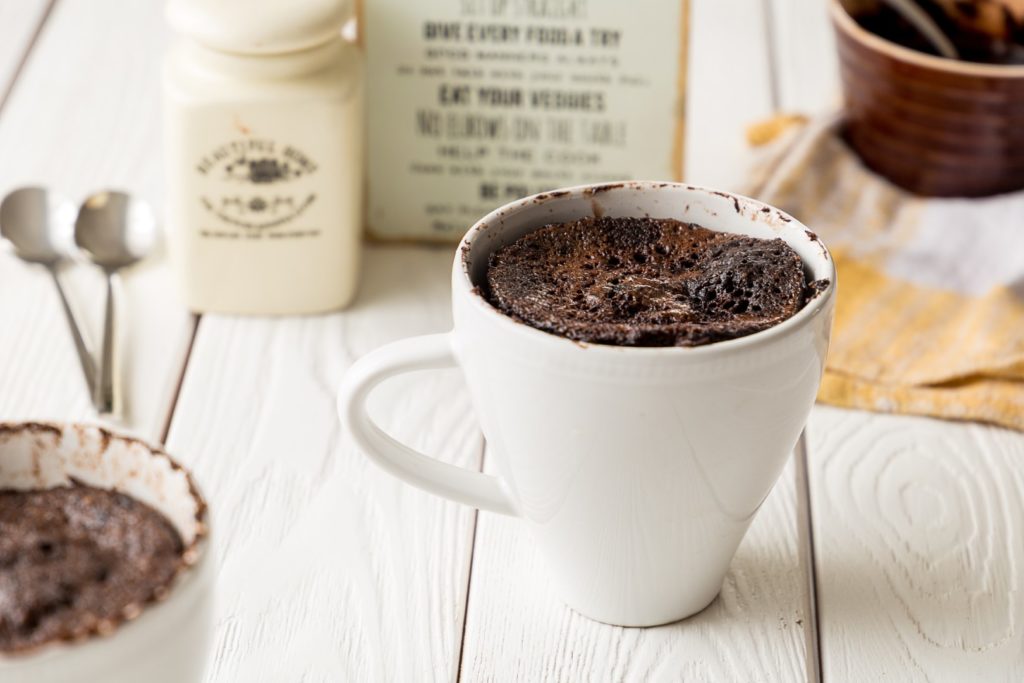
The common misconception of baking is that it can be time-consuming. Some people see a cake and believe it could have taken all day to make, but the truth is, baking can take very little time and effort! Sometimes it only takes 30 minutes to prep and bake a dozen cookies! But baking also doesn’t need to take place in the oven – a microwave is fantastic for specific treats and takes almost no time at all!

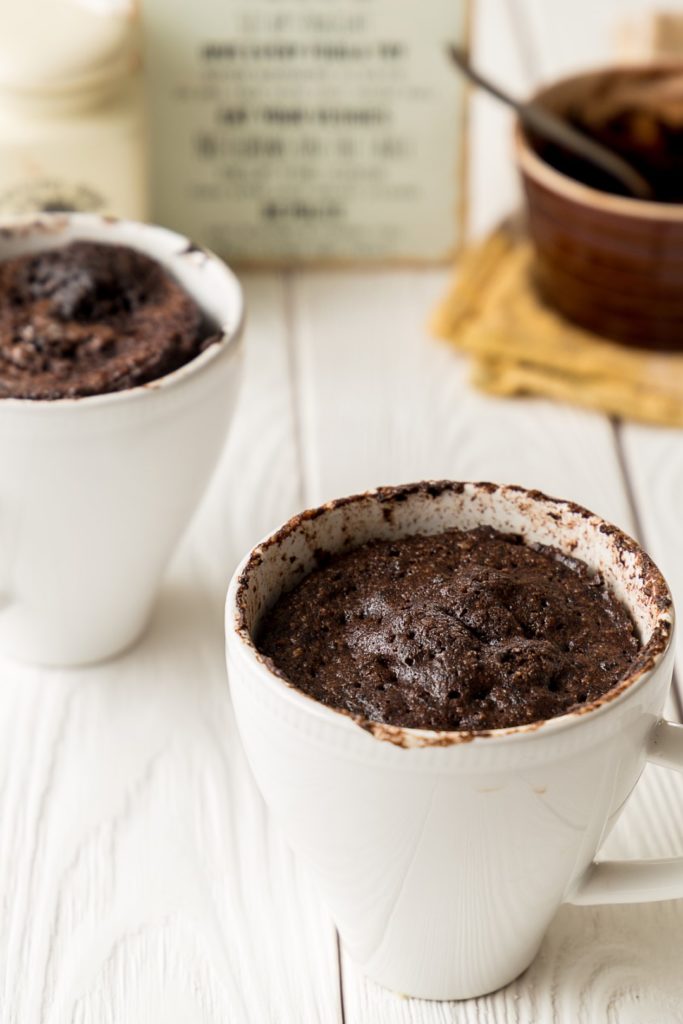
Use a GE Microwave for more than just warming up your leftovers. Try making this chocolate cake in a cup recipe and find out how you only need a couple minutes to make dessert in a microwave.

Ingredients for your mug cake

  • 1 Egg
  • 4 TBSP Sugar
  • 2 TBSP Oil (Canola oil, vegetable oil, olive oil, etc.)
  • 1 TBSP Flour
  • 2 TBSP Cocoa Powder

Put it all together and what do you get?

This may be the easiest cake that you’ve ever made in your entire life – and it only takes 1 minute and 40 seconds to bake! Just add all the ingredients into a mug and stir until completely blended. Once you’re done with that you just plop it in the microwave for 1 minute and 40 seconds or until it starts to look dry. Take it out and dig in! We’d say it’s simple as pie but really, it’s simple as cake.

How to Make a Mug Cake in Your GE Microwave (2)

If you happen to be someone who doesn’t enjoy taking a long time to make food in the kitchen, a GE Microwave will be the kitchen appliance to help you with that endeavour. And you aren’t limited when it comes to them either! You can choose from one as simple as a counter top or over the range microwave to something more luxurious like a drawer or built-in microwave. No matter what you decide on, you can’t go wrong with the GE brand! Talk with a sales person at your local appliance store to find out if there are any specials, discounts, or deals going on! Who knows? You may be microwaving a mug cake before you know it!

Amanda, Your Appliance Expert
3 Easiest KitchenAid Microwave Oven Cleaning Hacks

3 Easiest KitchenAid Microwave Cleaning Hacks

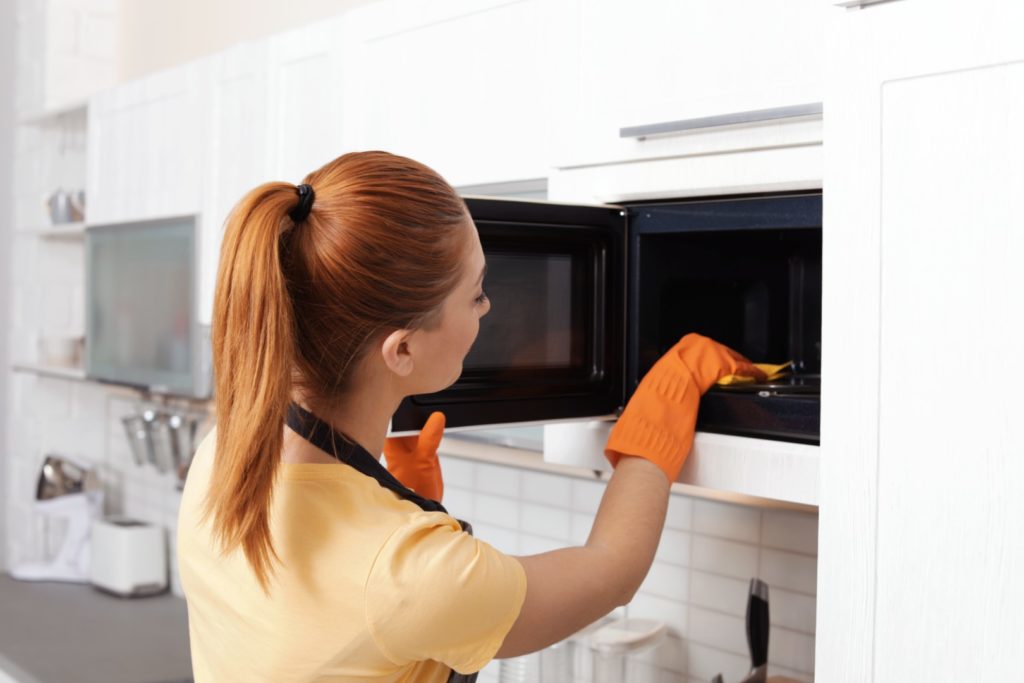
Few appliances get messier faster than your microwave. Spattered soup, spilled sauce, and slopped spaghetti can all be a real challenge to remove from the inner walls of the microwave once they’re caked on there. But the good news is you don’t have to spend hours scrubbing away to get all those unsavoury messes cleaned right up! These three cleaning hacks will get your KitchenAid microwave oven looking good as new in no time.

1. Lemon

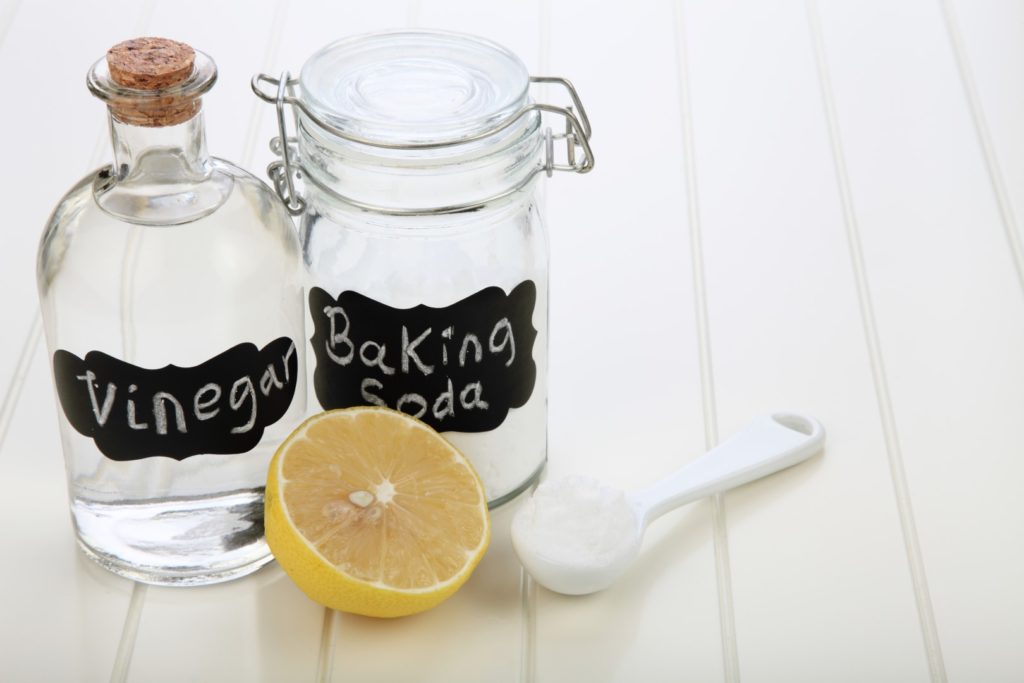
This method is probably the simplest, and it has the added bonus of making your whole kitchen smell great! Take an average-size lemon and slice it in half, placing both halves flat side down into a small bowl of water. Stick the bowl with the lemons into the microwave and heat on high for one minute, or until you see the microwave door start to steam up. Let the steam sit for a minute before opening the microwave door.

After a minute, open it up and wipe down the inside with a paper towel. The steam from the water should make all those crusted-on spills easy to wipe up, and the lemon fights bacteria and germs that may have been growing inside. Plus, it makes the whole thing smell citrusy fresh!

2. Baking Soda

Baking soda is a great, food-safe deodorizer and sanitizer, plus it’s gently abrasive, so you can get spills scraped off without damaging the interior of the microwave. Mix two parts baking soda and one part water to make a thick, abrasive paste. Apply your baking soda paste to the worst of the stains, giving the whole inside of your microwave an even coat, then allow it to sit for five minutes. At this point, you can either wipe up the paste and the stains with it, or you can double up using the next method.

cleaning a microwave with lemon, baking soda and vinegar

3. Vinegar

This hack is just about as easy as the first one, and you can do it alone or as a follow-up to your baking soda soak. Just fill a bowl with two cups of water and two tablespoons of white vinegar and microwave the mixture for one or two minutes. Vinegar has powerful cleansing properties and combined with steam it loosens up all the gunk caked onto your microwave. Keep the microwave door closed for a few minutes after it’s done running, to really let the steam go to work. Then open it up and wipe it down, making sure to remove any baking soda residue leftover from the previous method.

Now take a deep breath. Notice anything different? That’s right, no more burnt popcorn smell, or lingering odours from last week’s dinner! In addition to being great cleaners, all of these hacks strip away unpleasant smells from your microwave too. Now you’re ready to whip up an easy meal with no mess and no stress about germs or unwanted flavours.

For more hacks like this, plus all the information you never knew you needed about your KitchenAid appliances, come by our store! Whether you’re buying a new microwave oven, or just a little buy-curious, our associates are ready to share their expertise with you.

Amanda, Your appliance Expert
10 Things You Should Never Put in Your Bosch Dishwasher

10 Things You Should Never Put in Your Bosch Dishwasher

When faced with a pile of dishes at the end of the day, don’t be afraid to call in reinforcements – after all, Bosch dishwashers were made to make household cleaning easier.

But that doesn’t mean you can just put anything and everything in there and expect it to come out clean. There are a few items that could get ruined during even the gentlest of dishwashing cycles.

Prevent your Bosch dishwasher from breaking down by only ever putting the correct kitchenware inside. Discover the list of
items that are unsuitable below to ensure your helpful appliances stay in good shape for years to come!

1. Wood

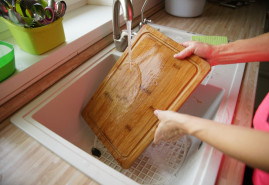
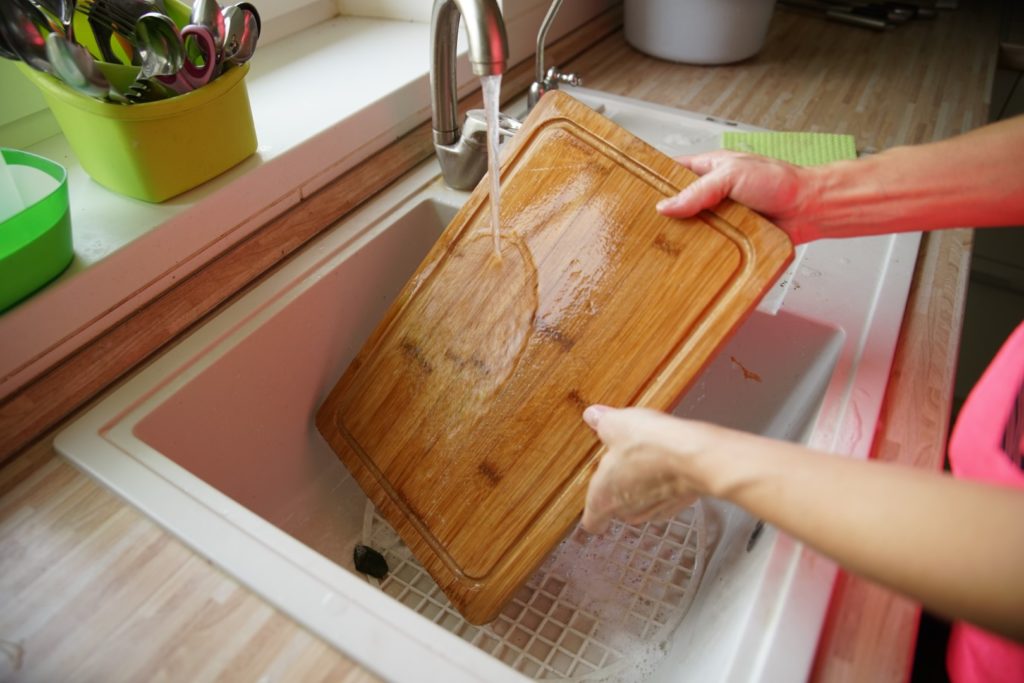
Hot water and heat from the drying cycle can cause wood items to warp and bend out of shape. Hot water can also dull the finish of wood kitchen items. Do you have wooden utensils, bowls, or cutting boards? Be sure to hand-wash and air-dry them to maintain their beauty and function.

2. Crystal

When it comes to washing crystal dishware, do it by hand! The material doesn’t play nice with dishwashers because of the intense heat during the water cycle. The hot water has the power to chip, crack, and even break fragile crystal. Take the time to lightly wash your crystal dishes and glasses by hand, otherwise you may end up only having pieces of them left.

3. Vintage

It’s best to keep any vintage or gold trimmed items out of the dishwasher. The colour and detailed patterns from vintage and antique pieces can get faded in the dishwasher. Not to mention, detergent is extremely harsh on vintage ware.

And if gold had an enemy — no it isn’t silver — it would be detergent. Gold-rimmed glasses and plates, vintage bowls and dinnerware, and gold-trimmed flatware should only be hand-washed to maintain their beautiful finish and value. And while ceramic and porcelain may seem vintage, they’re safe to put in the dishwasher just as long as they aren’t hand painted.

4. Copper

Copper pots and pans — and everyone’s favourite Moscow mule mugs — are best left out of the dishwasher. It’s recommended that they be hand-washed with mild soap instead.

Insulated mugs don't go in the dishwasher

5. Insulated Mugs

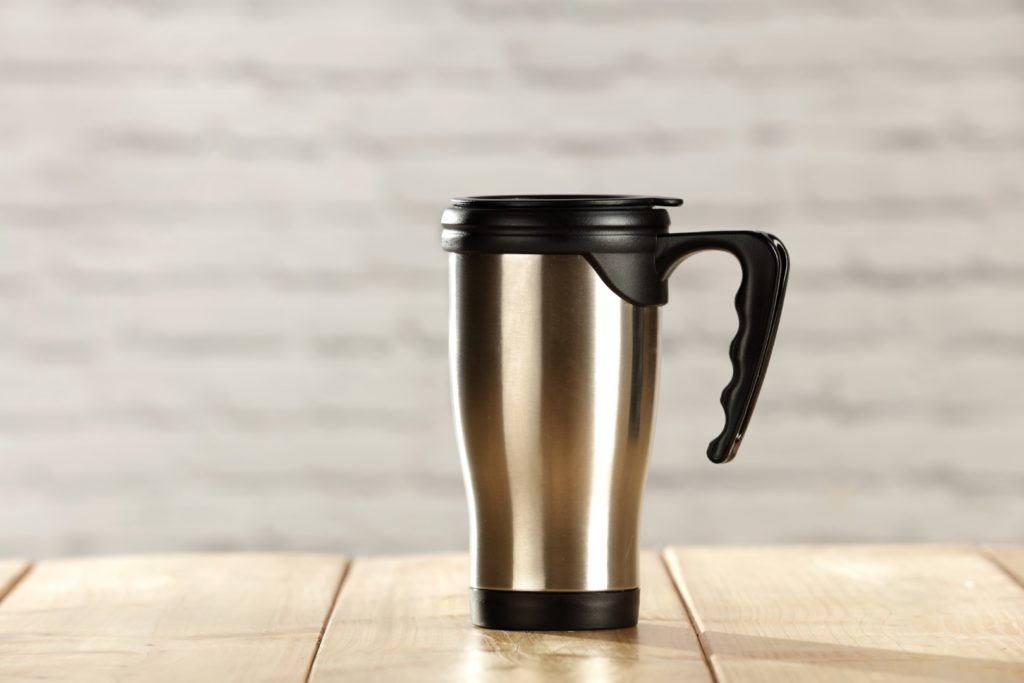
Insulated mugs are fantastic for keeping your drinks extra chilly or hot for lengthy periods of time. But if you put one in a dishwasher, there’s a good chance it won’t ever do that again. Seriously. No joke: The space between the outer and inner layers of an insulated mug can fill with water if placed in the dishwasher, thus damaging its insulating effect.

6. Cast Iron Skillets

If you want to experience the taste of rust, go ahead and put your cast iron skillets in the dishwasher. If you don’t though, leave it out. Water can leave cast iron items vulnerable to rust and will also strip it of its seasoning. Clean yours by thoroughly washing it by hand and without soap. Dry it off with a wash cloth immediately afterwards and voila! That’s all it takes to clean a cast iron skillet.

7. Items with Adhesive

Bottles and jars that have adhesive labels on them will peel off and clog the drain. The label pieces can also get stuck on other items in the dishwasher and cause a mess once dried on. Hand wash these items instead.

Nonstick pans don't go in the dishwasher

8. Nonstick Pans

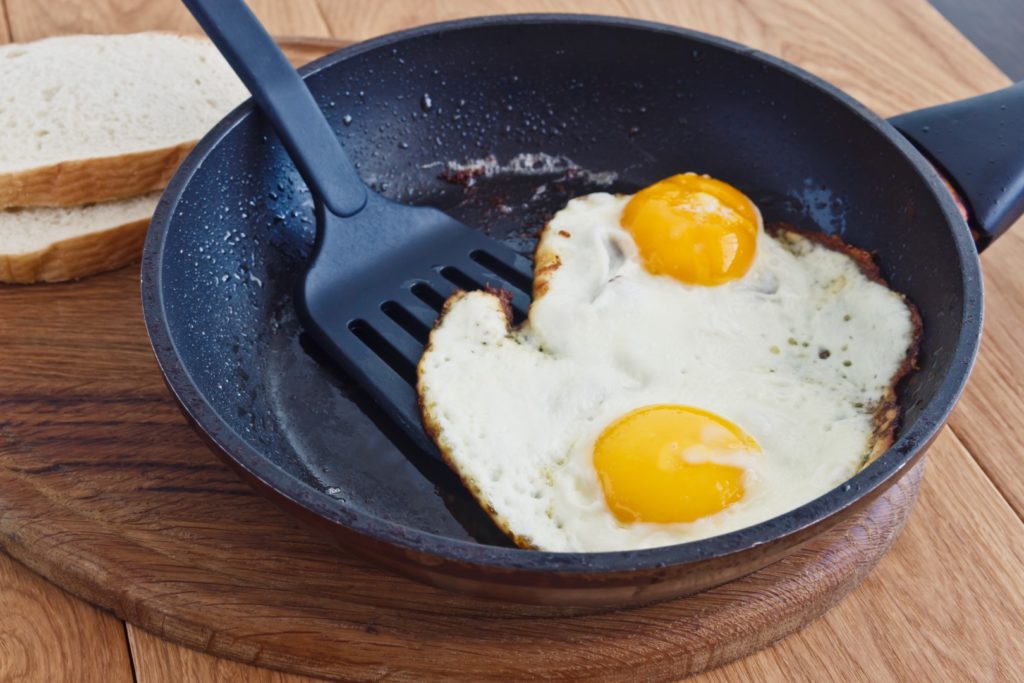
Be sure to read manufacturing instructions before washing your nonstick pans. Some brands of nonstick pans can go in the dishwasher, but if you’re not sure, it’s best to leave them out. A few extra moments washing your nonstick pans is far better than ruining the nonstick quality forever. And yes, I am speaking from experience on this one.

9. Knives

If you want your kitchen knives to stay sharp, you should never put them in the dishwasher. Dishwashers can dull knife blades, making them work more like a butter knife than one that can slice through tougher and heartier food. Hand wash your knives to keep them from going blunt and frustrating you in the future.

10. Graters

The small holes in graters used for zesting and grating cheese, lemons, and limes can be plugged when placed in a dishwasher. These items are best cleaned by hand-washing with a soft-bristled brush.

We all know that washing dishes is probably the least liked chore out there, but taking a few minutes to clean those delicate belongings will help keep them and your Bosch dishwasher in good condition for years to come.

Amanda, Your Appliance Expert